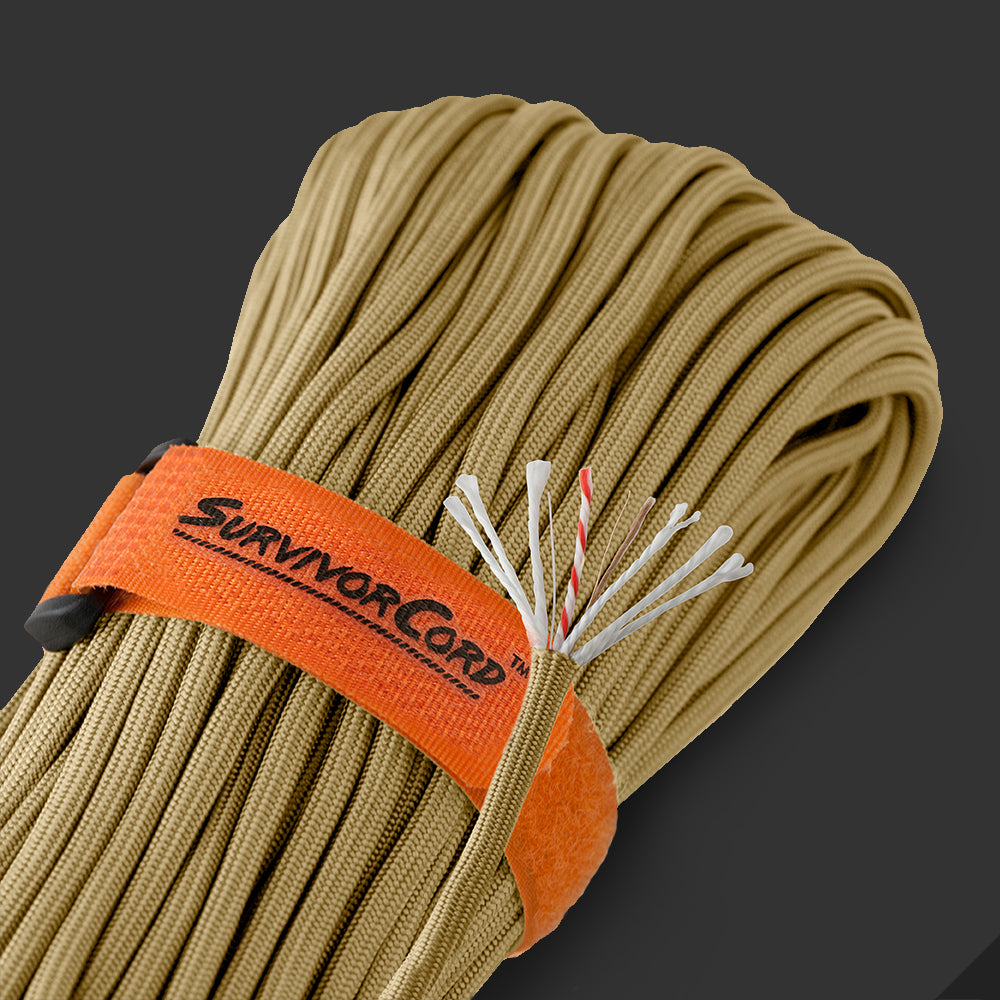
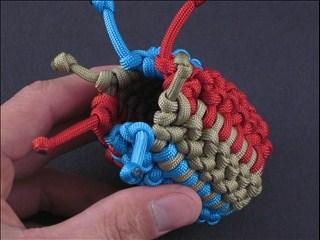
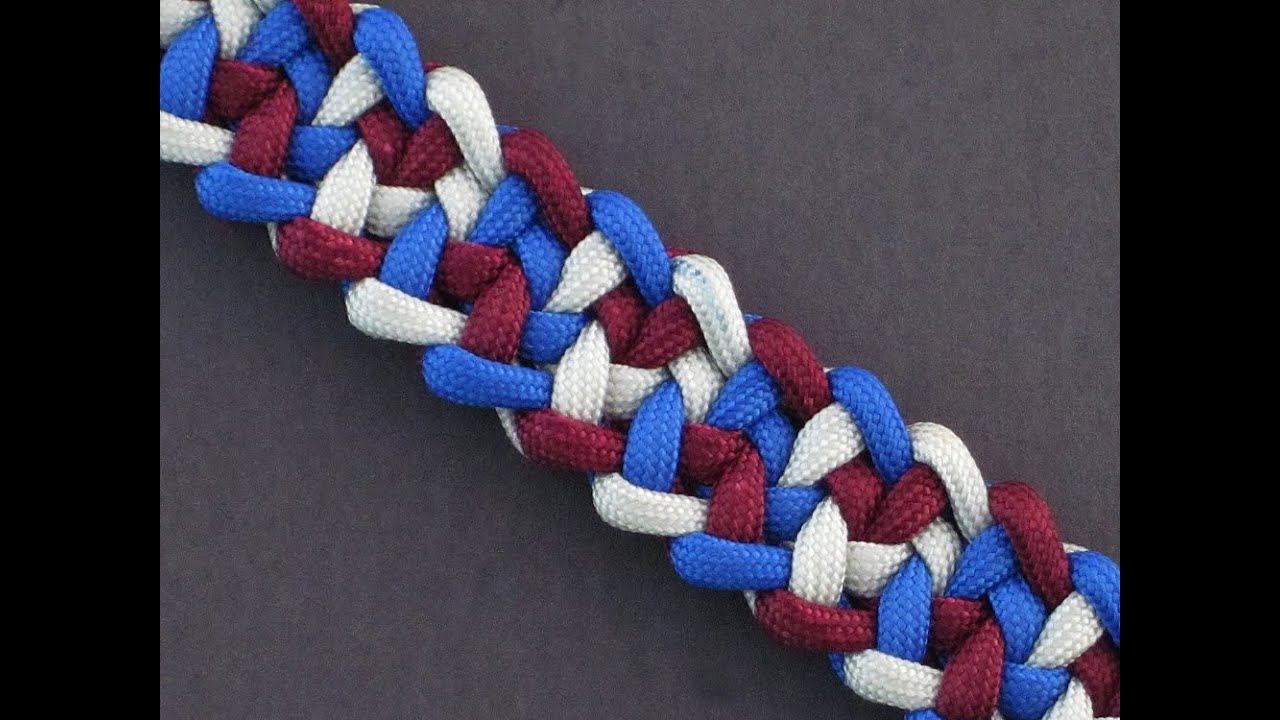
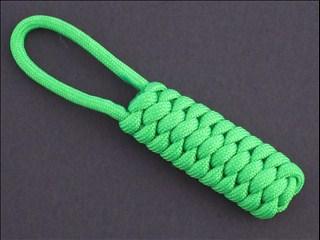
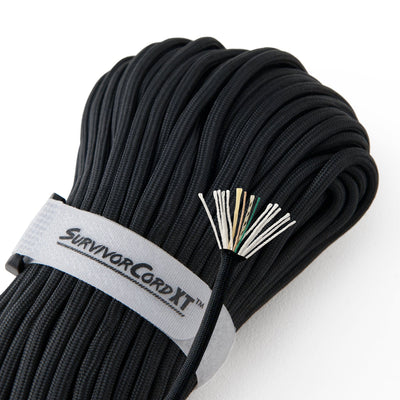
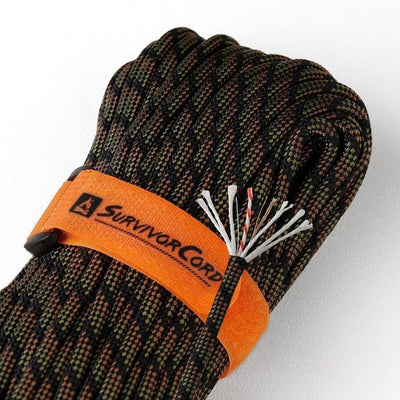
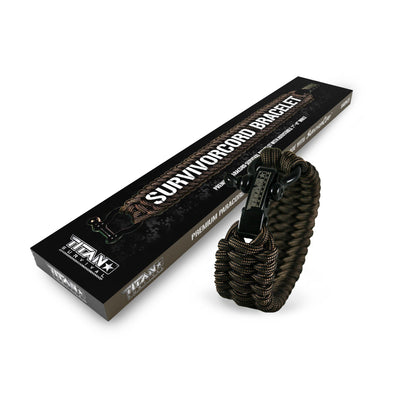
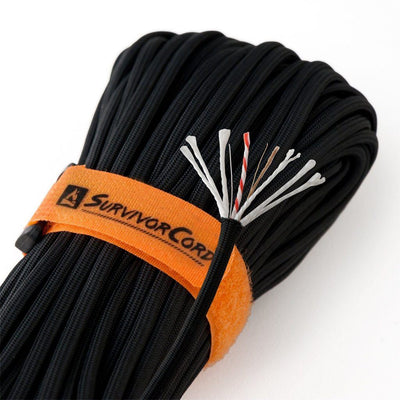
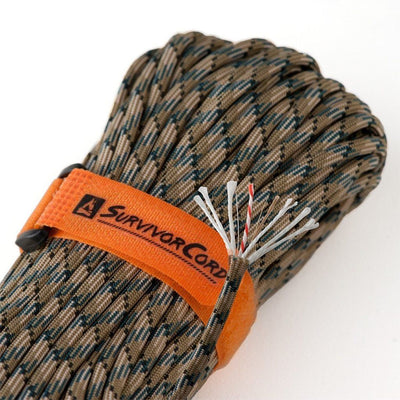
Learn how to make a Kronos bar paracord bracelet in this tutorial presented by Paracord 101. The Kronos bar paracord bracelet is a simple technique that can be personalized through the use of many different colors of TITAN SurvivorCord and WarriorCord.
To make the kronos bar paracord bracelet you will need:
- Three 1 ½’ sections of paracord. For this particular bracelet we will be using black, grey, and orange paracord.
- A plastic buckle
- A lighter
To begin take the orange and grey cords, fold them in half, and attach them to one of the buckle ends via a cow hitch. To make a cow hitch, take the ends of the paracord through the top of the buckle and then through its own loop on the other side. Then pull tight to the buckle to secure it in place.
Once you have both cords attached to the buckle, bring the working ends through the other buckle end, entering from behind. Adjust the center cords between the buckles to your wrist size. The working cords should now be coming out from behind the second buckle end. Now you are ready to start the kronos bar design.
Start by taking the grey working cord and bring it around the front of the grey center cord. Then work the end through the loop just created by the grey cord, entering from the front. Keep all work loose at this point. Do not tighten the knot down. Repeat the same process with the orange working cord, keeping all work loose.
Take one of the ends of the black section of paracord, and work it through both loops, horizontally keeping the two center cords behind the black cord. Pull the black cord through the loops until there is an even amount of working cord on both the left and right sides. Then pull the work tight, and synch it to the buckle.
Create the loops with the two working cords as previously described. Once the loops are made, bring the end of the right black working cord through the center of the cords and the loop on the orange working cord, entering from behind. Then take the end of the left working cord and work it through the center of the cords over the right black working cord that is already there and through the loop on the grey cord, also entering from behind.
Carefully tighten the work and push it up to the previous knot, making sure the cords do not twist at any point. Repeat the process of the second knot until you have reached the end of your bracelet. Then cut the excess cordage, melt the ends into the last knot, and there you have it. Your very own Kronos bar paracord bracelet.

