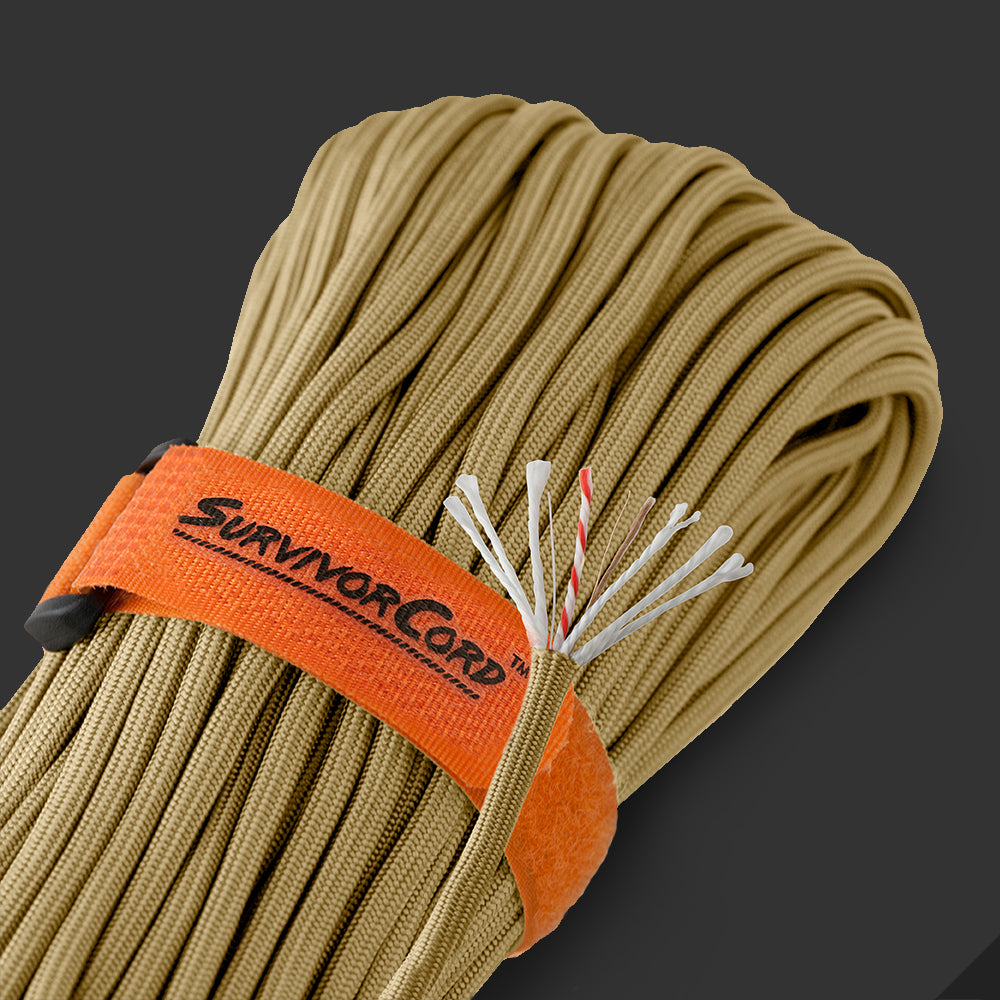
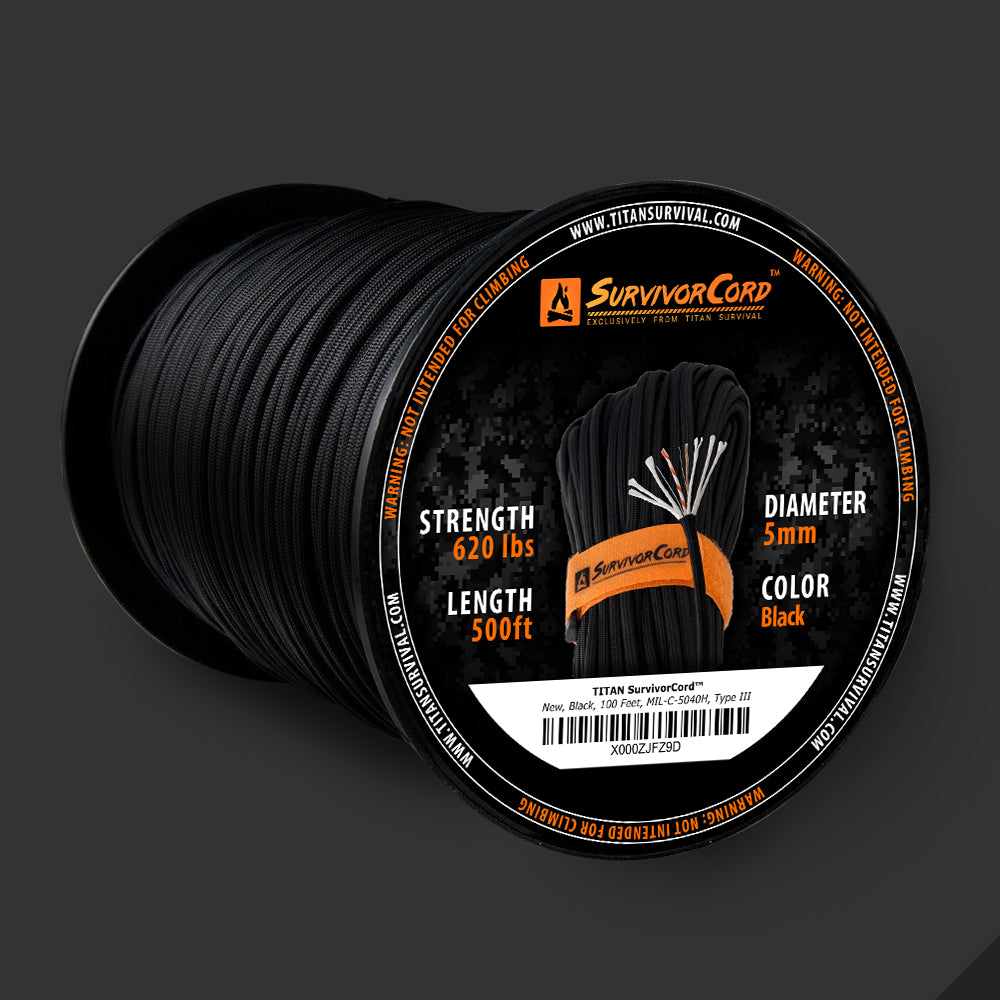
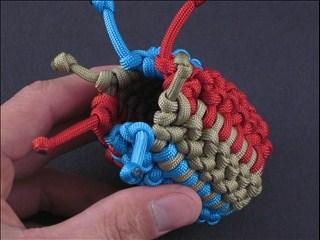
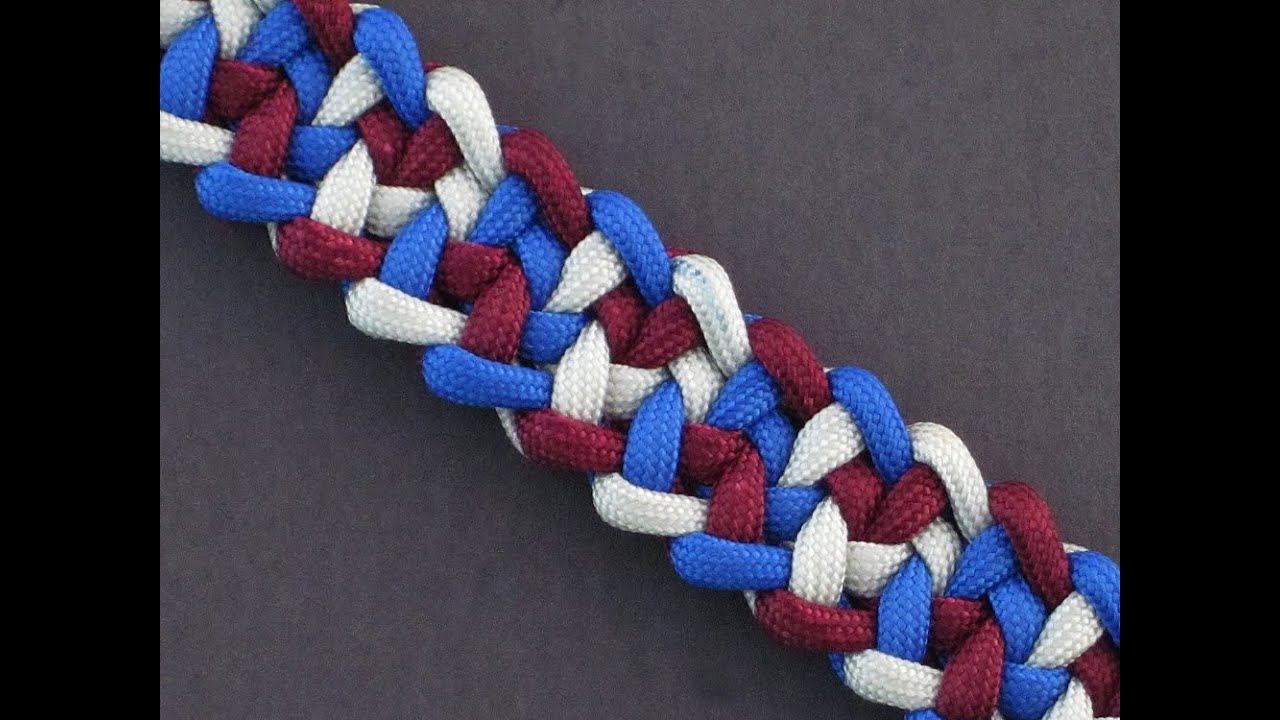
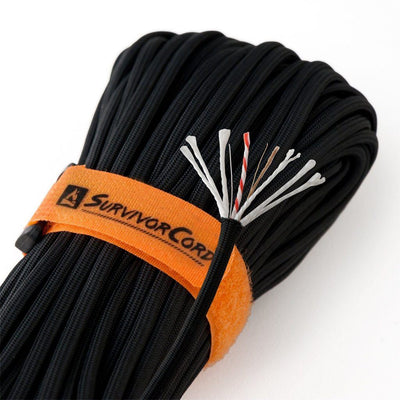
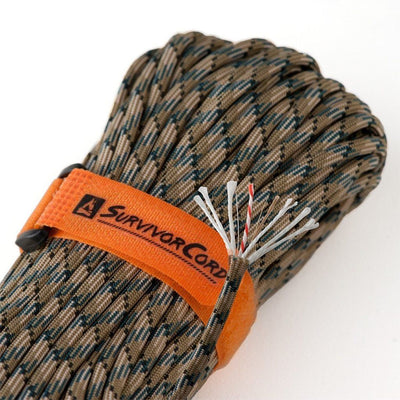
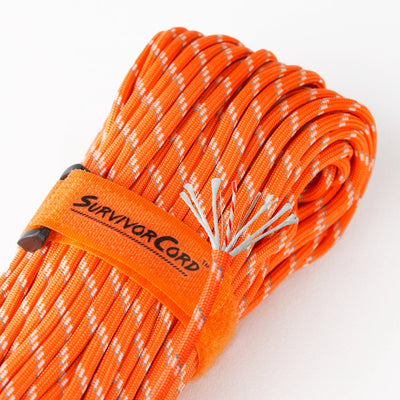
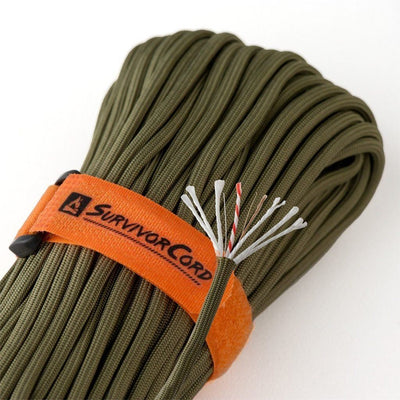
In this tutorial presented by Tying It All Together (TIAT), you will discover how to make a Pupa Pull Tie from TITAN SurvivorCord or WarriorCord. The Pupa Pull Tie is a fundamental technique that can be used to make elaborate ties that expand cylindrically in 3 dimensions.
To make a pupa paracord pull tie you will need one 5’ section of paracord, scissors, and a lighter. To begin, find the center of the cord and create a loop that is the desired length of pull tie. With the working cords on top cross them at the bottom of the loop so that the left cord is now on the right and the right cord is now on the left.
Now take the working cord that is on the left and insert it through the loop, entering from the back side and working towards you, bringing the end of cord over to the right. Take the other working cord that is on the right and work it under the end of the other cord and holding it in place in the center of the loop.
This should have created a small loop on the right side. Take the first working cord (that was on the left, but is now on the right and insert it through this loop, going behind the right cord of the main loop and entering the small loop from behind. Tighten the knot while keeping the main loop in place and at its original length.
Next, flip the piece horizontally and take the working cord on the right side, which should be flowing through the center of the knot and behind the right cord of the main loop, and bring it around the front of the right cord of the main loop, creating a small loop. Bring the left working over the end of the right working cord (which should be flowing to the left), around it, behind the right cord of the main loop and through the small loop on the right side, entering from behind and below. Tighten the knot.
Flip the piece horizontally and repeat the process. Continue this process, flipping the piece with each completed knot, until you reached your desired length. Snip the excess cordage from the working ends, melt them into the last knot, and you're done!

