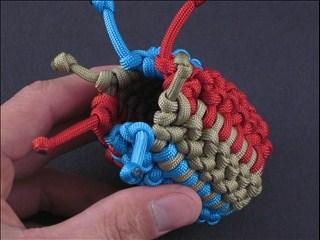
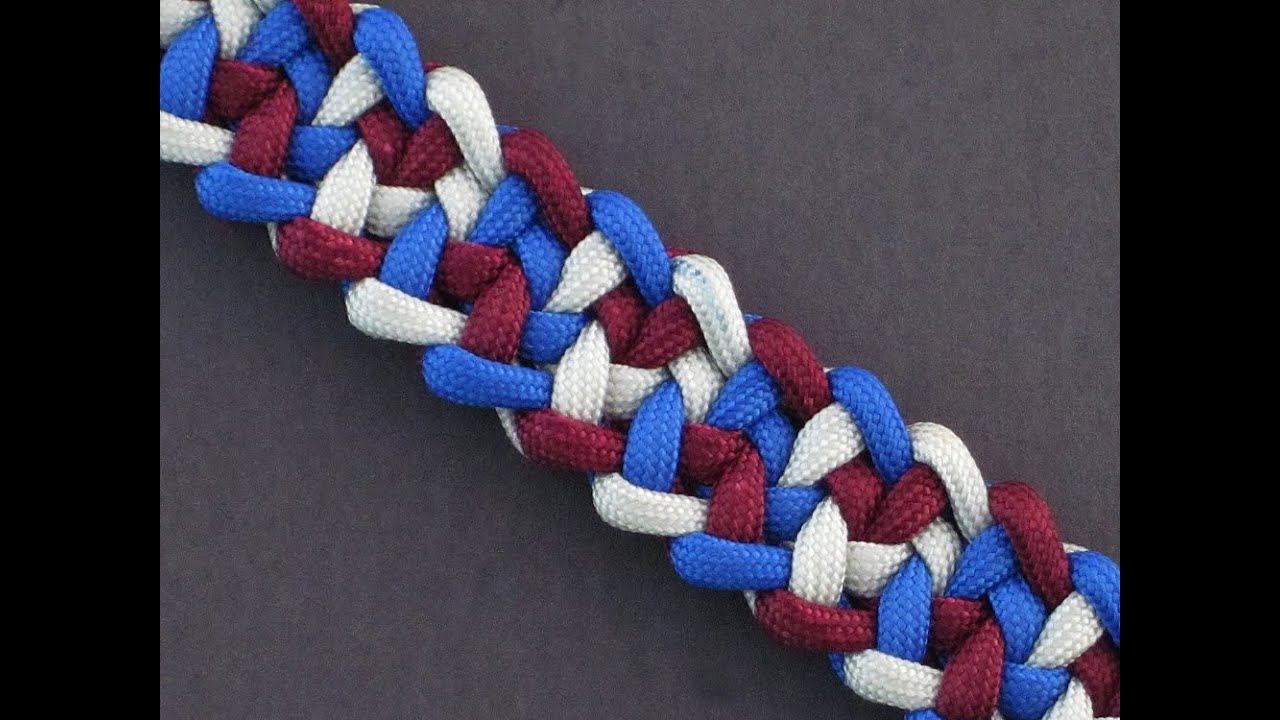
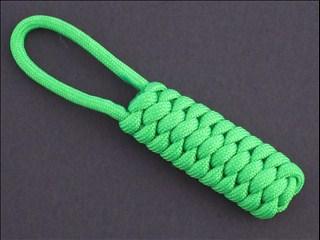
In this tutorial presented by Tying It All Together (TIAT), you will discover how to make a divided sine wave sinnet paracordkey fob. The divided sine wave sinnet paracord key fob displays a subtle, springy, color segmented wave of colors that is interesting and eye-catching.
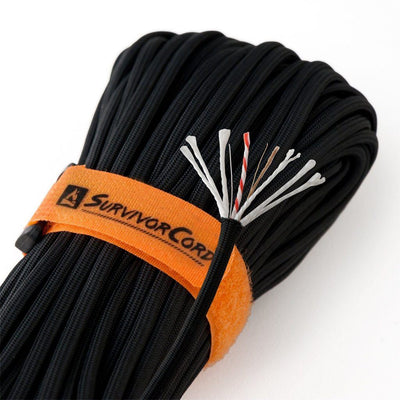
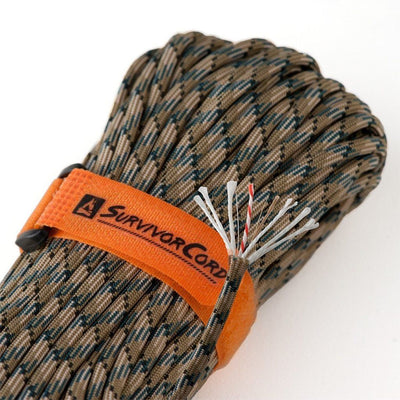
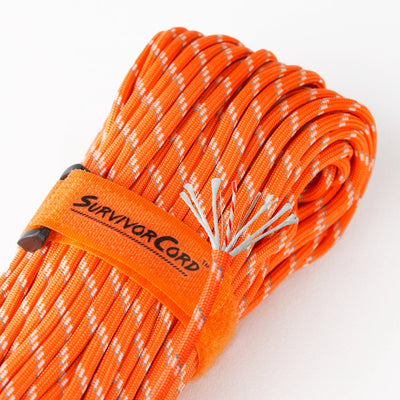
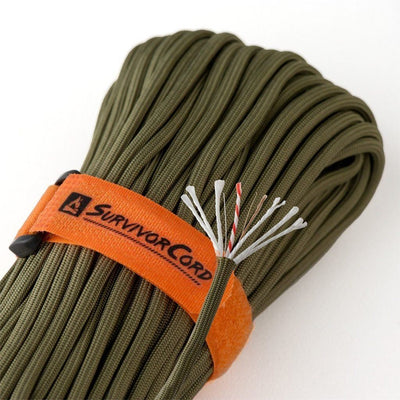
To make a divided sine wave sinnet paracord key fob you will need three 4’ lengths of paracord. For this particular piece we are going to use green, brown, and blue SurvivorCord or WarriorCord..
The divided sine wave sinnet paracord key fob begins with a doubled endless falls base. Beginning with the brown and blue cords, place them together evenly with the blue cord above the brown cord, and find the center point. Pinch the blue cord into a small loop over the top of the brown cord.
Take the right working end of the brown cord around the front bottom of the small blue loop. Next, bring the left end of the brown working cord around the front of the bottom of the small blue loop and over the top of the right brown working cord that is already there. The left working end of the brown cord should now be on the right, and the right working end of the brown cord should now be on the left.
While holding the small blue loop and brown cords that cross the base of the loop in place, bring the working ends of the blue cord up through the center of the loop created by the brown cords (not through the small blue loop). The small blue loop with be stationary and serve as an attachment point for your keys.
Pull the ends of the blue cord through and gently tighten the knot but not overly tight. The brown loop needs to be loose. Take the green section of paracord, fold it in half and insert the bend of the center point through the brown loop on the back side, entering from the bottom. Bring the loop of the green cord over the top of the small blue loop and pull the ends of the green cord to tighten it in place. Then pull on the ends of the brown cord to lock everything into place.
At this point there should be two blue working cords coming down the center with a green working cord on each side of the blue cords, and a brown cord on each side of the green cords. You are now ready to begin the divide sine wave sinnet.
Begin by flipping the piece over horizontally. Take the right brown working cord over the top of the green and blue working cords. Then bring the left side over the top of the green and blue working cords and the right brown working cords. The brown cords should be crossed over each other on top of the other cords.
Next, bring both green working cords together and insert the ends through the middle of the brown “circle that was created by the brown cords at the top of the work. At this point the blue cords should be behind everything and the green cords should be wrapped around the point where the brown cords cross each other. Tighten the work.
Flip the piece around horizontally and bring the brown working cords across the blue working cords in the same way as before. Then take blue working cords together and insert the ends through the center of the brown circle and between the two blue cords that are in the center of the circle. Pull the knot tight and push it up to the previous knot.
Flip the work back over horizontally and repeat the same process. Each time you complete a knot, flip the work horizontally. Continue until you have reached your desired length leaving a few inches to lock the work into place with a 6-strand diamond knot.
Once you get to the end, flip the work over so that the working cords are on top. The brown cords should be closest to you, with the green cords in the center and the blue cords in the back. To make the 6-strand diamond knot take the right brown working cord over the center right green cord. Then bring the end of the right green working cord around and over the brown cord and over the right blue working cord.
Bring the right blue working cord over the green cord and the left blue working cord. Then bring the left blue working cord over the right blue cord and the center left green working cord. Bring the center left green working cord over the left blue cord and left brown working cord.
Take the end of the left brown working cord over the green cord and through the loop of the right brown cord, entering between the green and brown cords of the right side. Pull the work snug but not tight. Then take the end of the left green working cord and work it through the same brown loop on the right side, entering from right to left.
Take the end of the left brown working cord and insert it through the next loop, which should be green, entering from the back. Then take the end of the right brown working cord and insert it through the next loop (working in the counter clockwise direct), which should be blue, entering from the backside. Take the right green working cord and insert it through the next loop in the same manner. Do the same with the right blue working cord. The next working cord in line should be the left blue working cord, which should be inserted in the same manner the last brown loop.
Evenly tighten the work by gently pulling on each of the strands until the knot is locked into place and you’re done!

