Discover how to tie the dragon egg paracord pouch in this instructional video presented by Tying It All Together (TIAT). The design of the dragon egg paracord pouch results in a sturdy and functional paracord pouch.
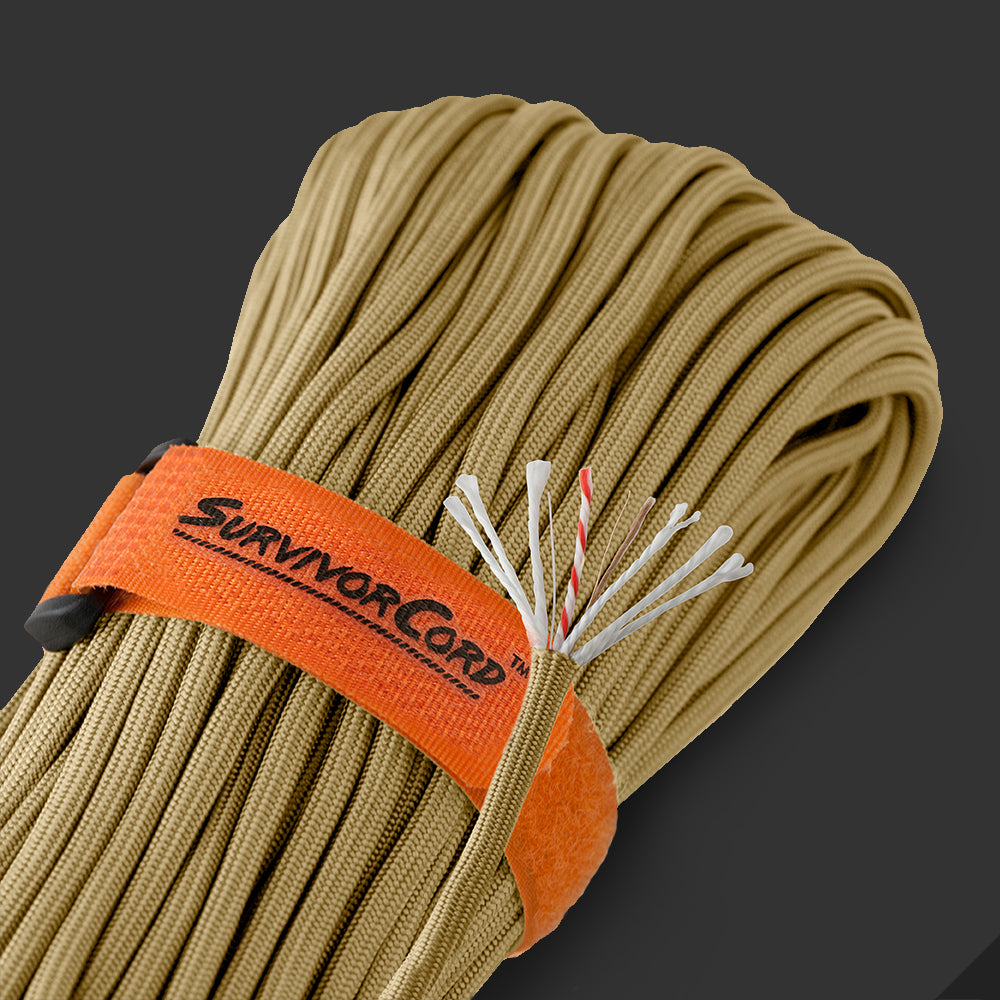
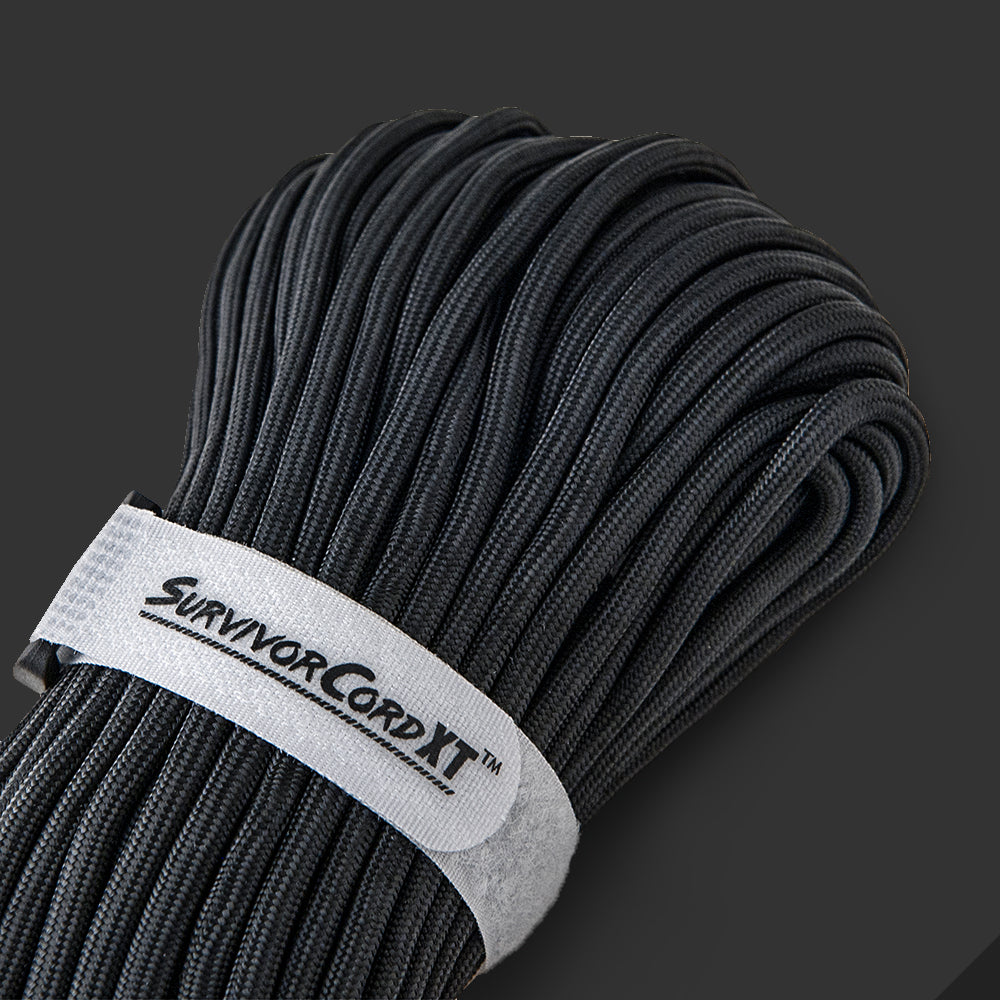
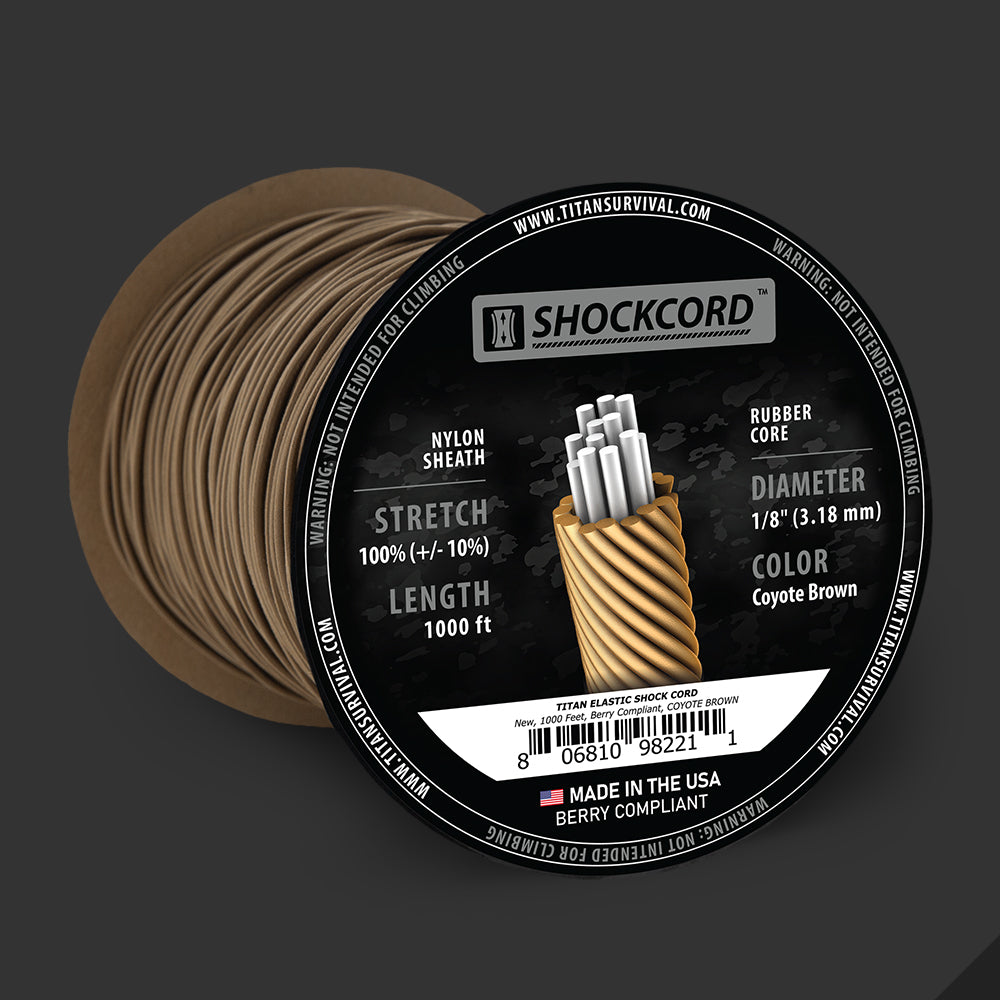
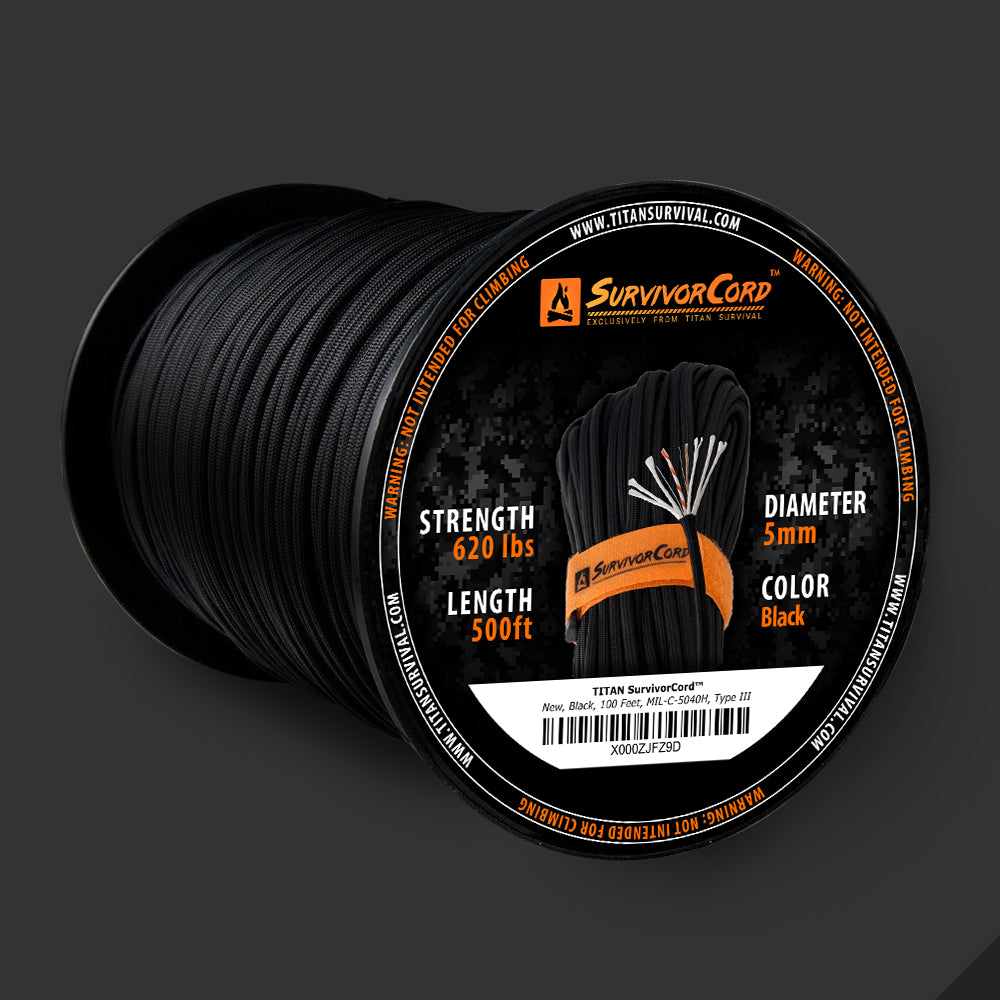
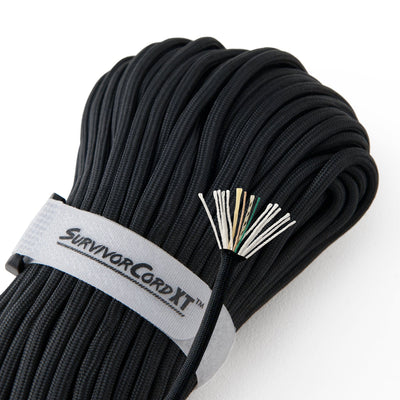
To tie the dragon egg paracord pouch you will need three 12’ lengths of SurvivorCord or WarriorCord, a pair of scissors, and a lighter. For this video tan, blue, and orange paracord is going to be used. This piece begins with the pouch base.
Begin by line the center of the cords horizontally with the blue on top, orange in the middle, tan on the bottom. Take the left side of the blue cord down so that it is running more or less vertical behind the center of the brown and orange cords. Take the right side of the tan cord and bring it down in the same fashion. This should basically create a cross with the tan and blue cords at the center of the orange cord.
Next, while holding all the cords at their center point take the left blue cord to the right over the tan cord. Take the bottom tan cord to the right over the blue cord that just passed over it and the orange cord. Turn the work clockwise and take the bottom orange cord to the right over the tan cord and top blue cord. Take the top blue cord over the orange cord and the top tan cord. Then take the top tan cord to the right over the blue cord and top orange cord.
Take the end of the too orange cord up through the blue loop that is the right in the counterclockwise direction. Pull on the ends of the cords until the pouch base is firm and symmetrical. The next step is to create the pouch ribs and build up the pouch.
Start by taking the top right tan cord and creating a small closed loop as close to the loop base as possible. Then create a small open loop with the same cord and insert the top of the open loop into the closed loop. Pull the open until it is about 2” long and then tighten the closed loop to secure it in place. Repeat the process in the clockwise direction using the blue cord.
Continue this process with each of the cords until you have made it all the way around to the top tan cord. Once you have made it all the way around, pull on each of the loops until they are about 3 ½” long.
Next, flip the piece over with the orange loops at the top and bottom. Take the end of the blue cord that is to the right of the top orange cord and create a small closed loop as close to the pouch base as possible. Create a small open loop using the same cord and then insert it into the closed loop as before. Tighten the closed loop. Then insert the top orange loop through the small blue loop that was just created. Pull the blue loop closed to secure the top orange loop. Repeat this process with each of the cords starting with the left side of the top orange loop and working the counterclockwise direction.
Once you have completed this process for all of the loops flip the piece over and repeat the same process in starting with the working end of the top red cord, and working in the counterclockwise direction. Repeat this entire process until there is only ½” loops left at the top of the pouch. The last step is to create the pouch top.
Begin by folding one of the loops down over the top of itself, creating two small openings on either side of the loop. Then take the working end that belongs to that loop and insert it through the left hole, going over the loop’s top that is folded over. Then bring the cord end around and through the other opening on the right side of the folded loop entering from the back. Repeat this procedure for each loop and its corresponding working cord.
Stretch the top of the pouch out to its widest point, and then tie a simple overhand loop on each of the working cords, close to top of the pouch. Snip and singe the remaining cordage for a neat finish and your dragon egg paracord pouch is complete.

