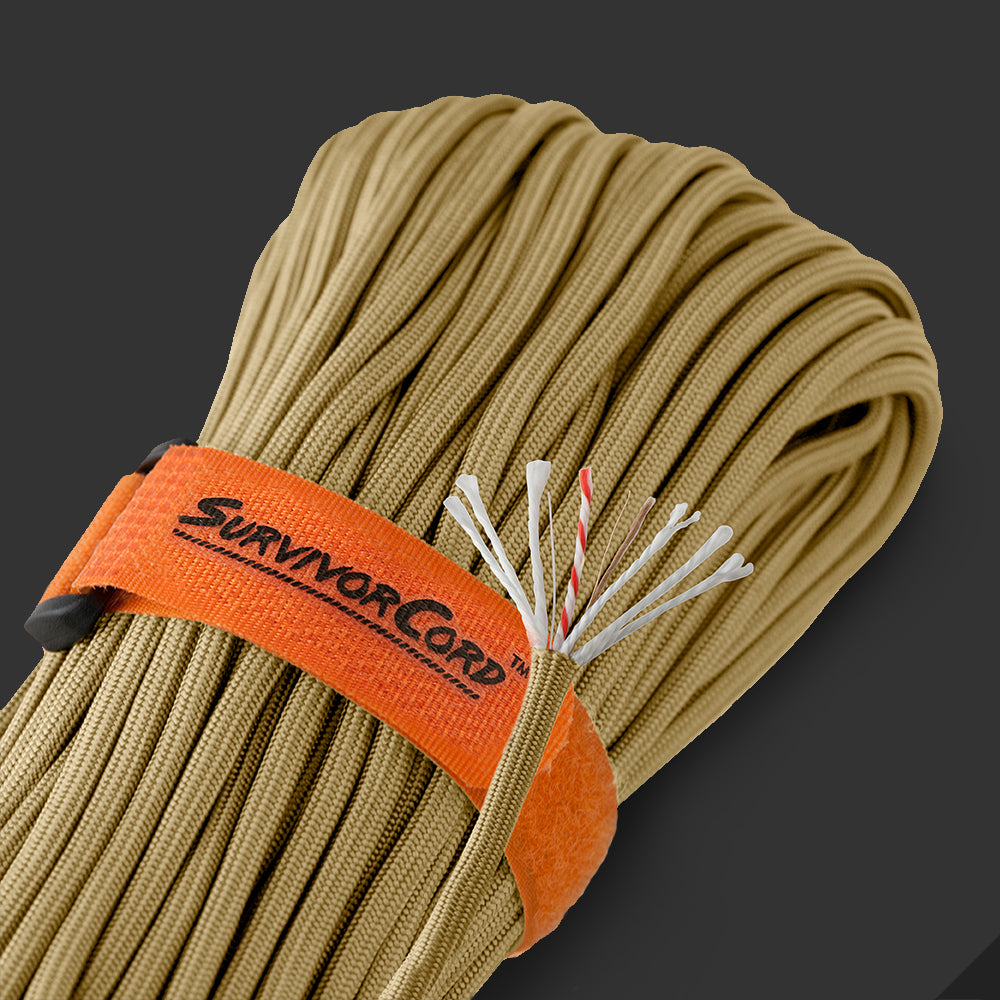
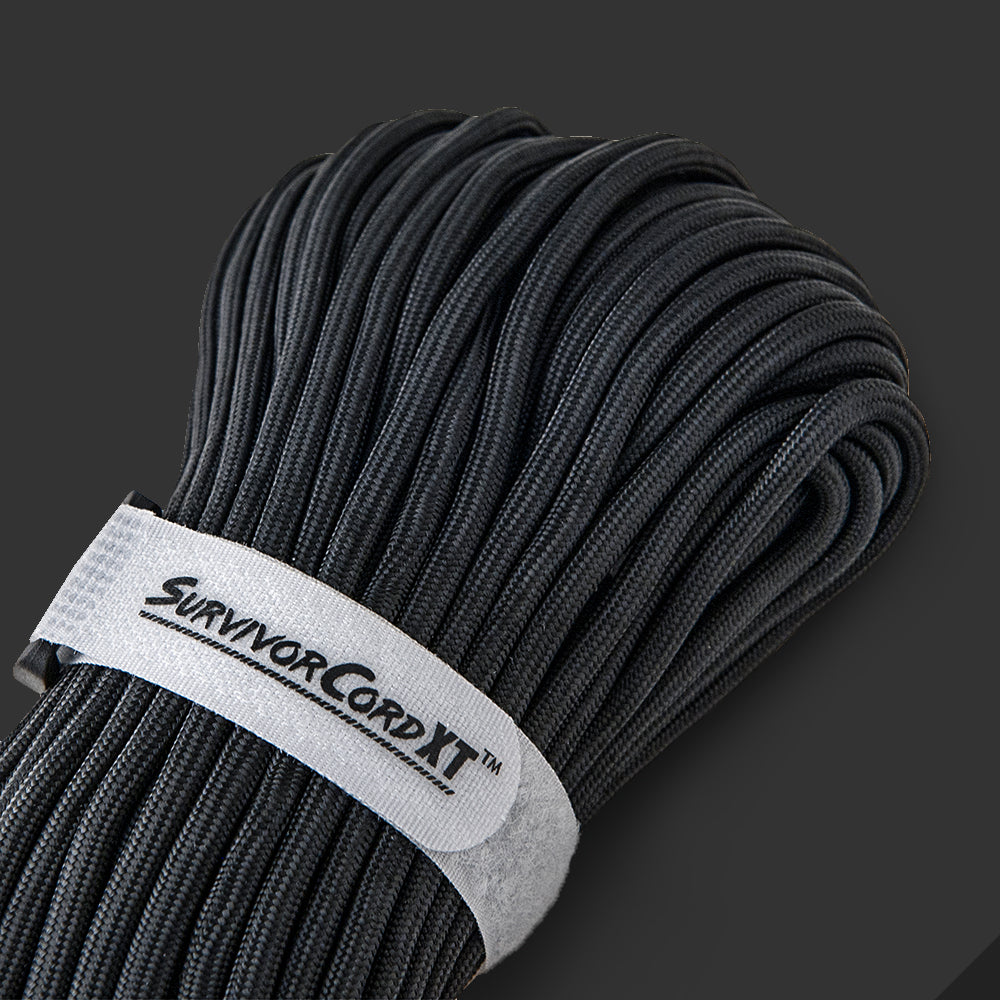
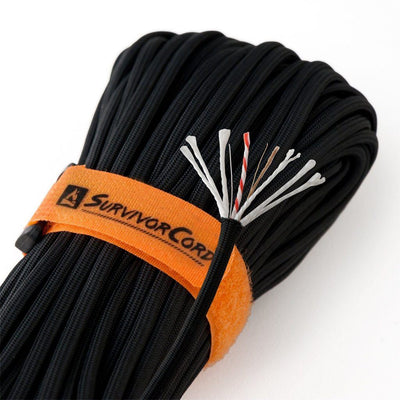
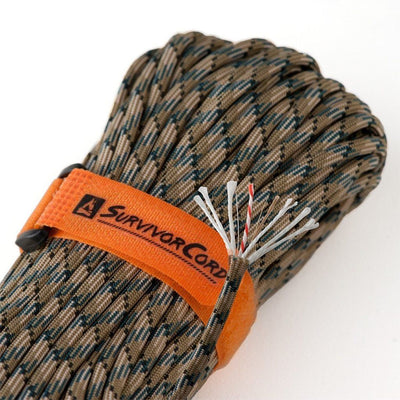
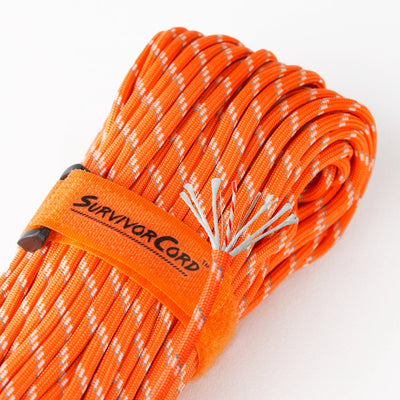
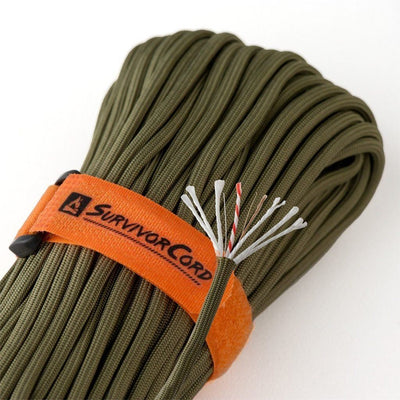
In this video presented by LutrO Customs, you'll learn how to use your paracord to create a wire sleeve. Using paracord as a wire sleeve will help protect your wires and can be used to create order in computer building or other wiring systems. You can use your paracord to create a wire sleeve on cheap headphones that will prevent them from become tangled when taking them in and out of your pocket.
You can use your paracord to create wire sleeves for many wiring systems. It can be used to color code wires in computer building or simply for aesthetic reasons. Wire sleeves have many applications in automotive to computer systems. This article will discuss the process of using your paracord to create a wire sleeve.
You will need masking tape, needle nose pliers, tin snips, a razor blade, an LC sleeving tool, shrink tubing, a heat gun, and of course some paracord. The length of paracord you need will be dependent on the type of wire you have. Before measuring out how much paracord you need, you will want to trim the end of the paracord with tin snips so that it is as smooth and clean as possible. Then barely apply the lighter to the end, you do not want the inner strands to be melted to the mantle.
Now to measure the length of paracord you need, place the clean cut end right up to the end of the metal connector where it connects to the wire keeping it pinched with your fingers. Stretch the paracord to the end of the other connector and make a clean cut using the tin snips. You will want your paracord to be pulled tight but not too tight. Lightly apply the lighter to the fresh cut end, you only want to smooth out the mantle so it does not fray, not melt it together.
Pull the inner strands out of the paracord. Using the masking tape, tightly tape one of the metal connector ends. This is going to allow you to push the wire through the paracord without snagging the sides with the connector. Cut your shrink tubing if you bought the long heat shrink tubing, or you can skip this by buying pre-cut shrink tubing. You will need one for each end. Once you have your pieces of shrink tube, take your needle nose pliers and gently stretch out one end of the tubing. You do not want to stretch it to fast or the tubing will split, instead gently stretch and the turn the tubing and stretch again.
Work the taped end through the paracord then remove the tape, you may need the razor blade for this. Use you LC sleeving tool to align the paracord to where you need it, and hold it in place with your fingers. Put the shrink tubing on stretched side first aligning it just under the first knob on the metal connector. Make sure you hold the paracord tight so that it does not move back. Gently twisting the shrink tubing will help put it on smoothly without moving the paracord. Once you have your shrink tubing in place use your heat gun to shrink it down to the wire and paracord. Stretch the paracord out to the other and use the LC sleeving tool to measure where you need the paracord. Repeat the process of adding the shrink tubing. You now have a sleeved wire that is ready to be tested. Check out our TITAN WarriorCord colors, that are perfect for wire sleeves.

