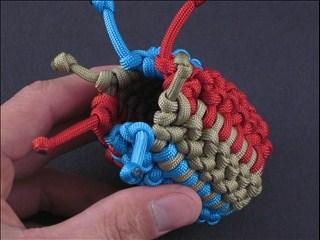
Learn how to make a paracord cell phone pouch in this video presented by Uniform Warrior. Make a phone sized paracord pouch for yourself and your friends.
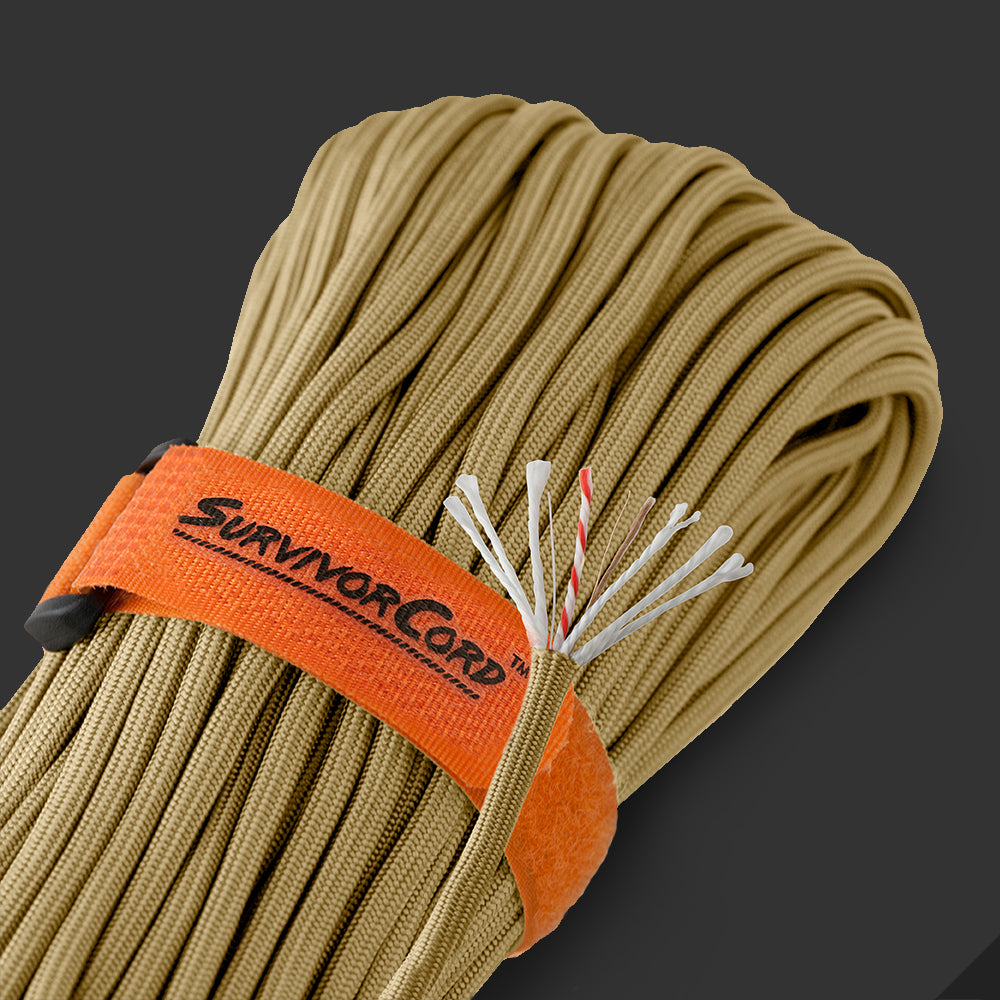
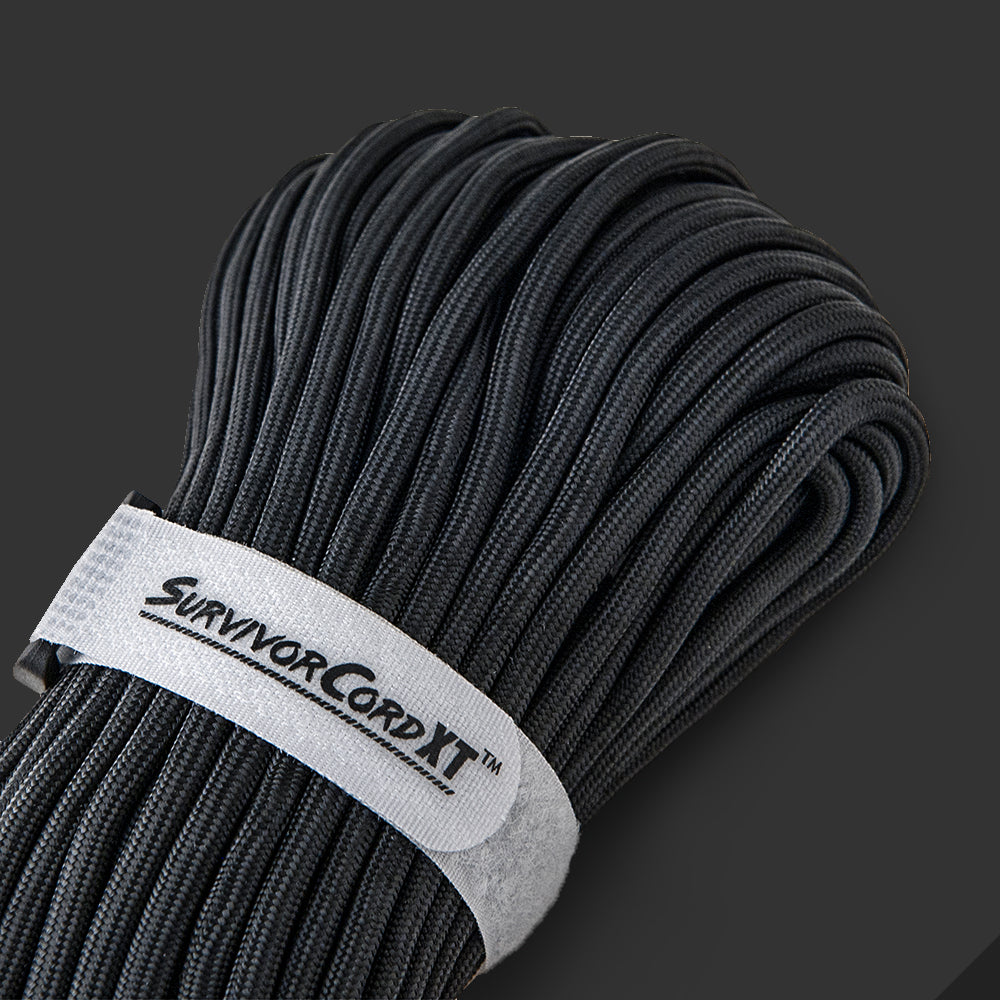
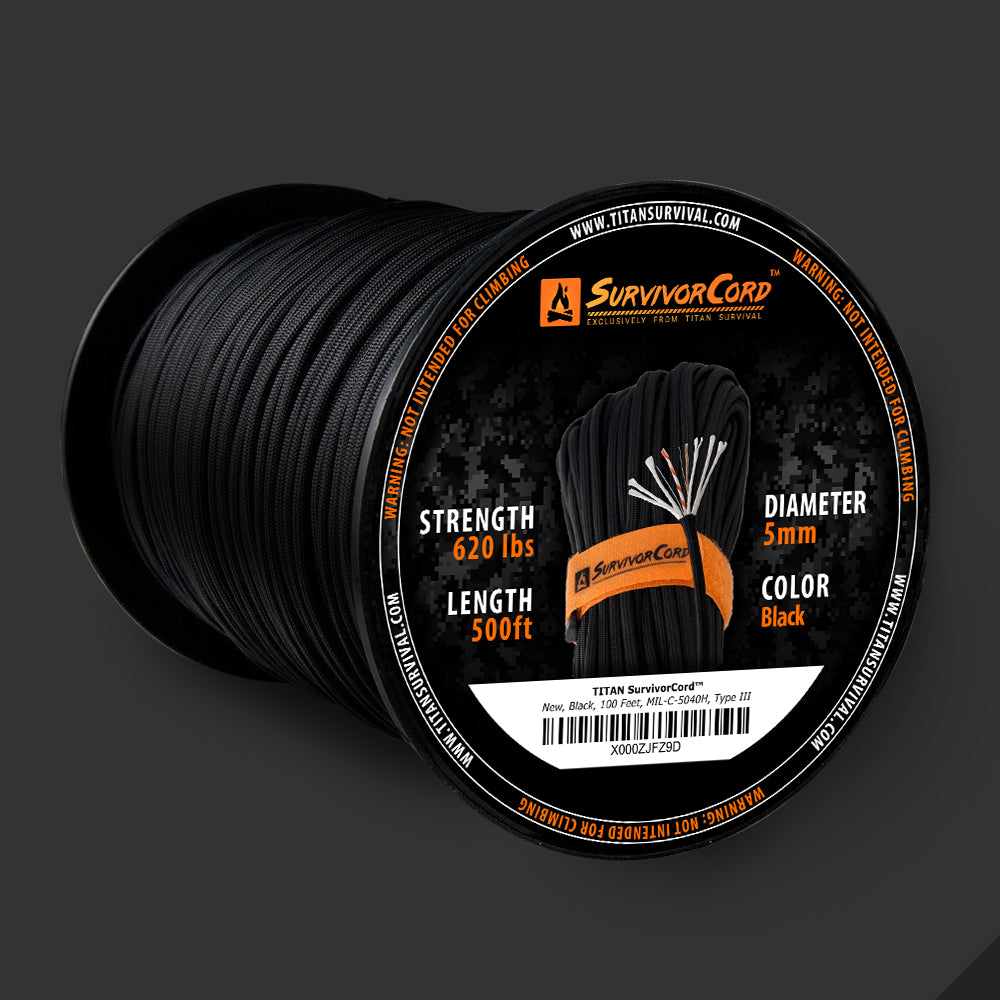
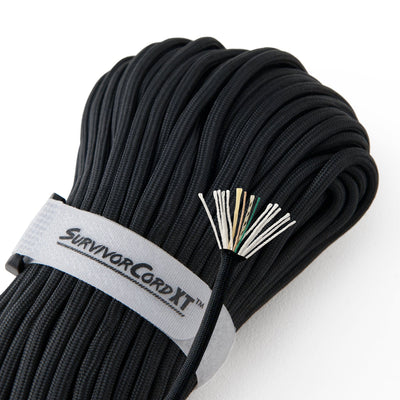
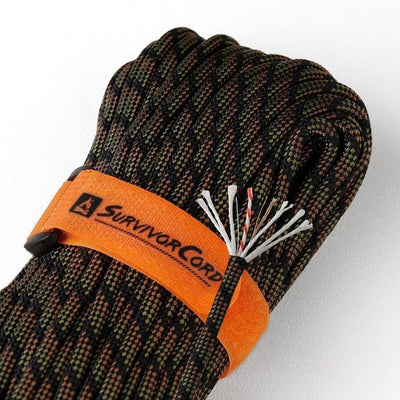
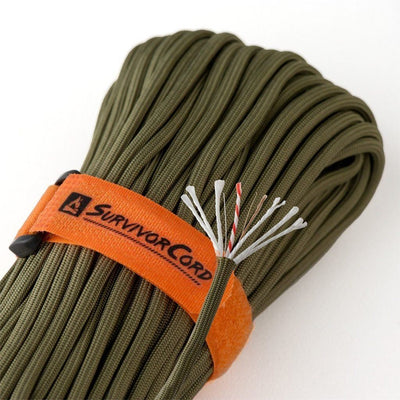
You can use whatever colors you like, but for explanations purposes we will be using burgundy and black SurvivorCord or WarriorCord. For this particular pouch you will need 18’ of burgundy paracord, 18’ of black paracord, and two additional 5’ sections of black paracord.
Take the burgundy paracord and fold it in half. Then measure 14” down from the center point and make a cobra stitch. While holding the 14” mark, bend the cords towards you and take the left strand and put it over the middle two. Then take the right strand and put it over the left strand, behind the middle strands, and through the loop that has been created on the left side.
Re-measure from your center mark and adjust your cobra stitch to 14” if necessary. If you have a larger phone, like the iPhone plus, you can go with 15”-16”. If you want to get real technical with it, you could just measure your phone and add a ½” to each end.
Once you have your stitch set at the proper length, make another cobra stitch. This time start on the alternate side. Tighten and push the stitches up to keep them straight and uniform. Continue the cobra stitches alternating the starting side with each stitch until you have a ½” loop at the end. Cut the excess cordage off and singe the ends into the cobra stitch.
This piece makes up the spine of the pouch. Bend it into shape with equal lengths on the two parallel sides. Take the 18’ length of black paracord and one of its ends and attach a paracord needle to it. Take the burgundy spine, and on the starting side (one without the loop on the end), loosen one of the top loops of the cobra stitch. Looking down at the top of the spine, there should be two loops on either side of it.
Pull the needle and paracord most of the way through, leaving about a foot, and clip it in place using a pair of forceps. Take the needle and insert it through the second loop down from the loop on the top of the other side. Make sure the loops are on the same side of the pouch spine. Bring the needle and the paracord through the loop until the length between the sides of the pouch is to your liking.
Insert the needle into the loop directly down from the current loop and pull the paracord through to the other side of the spine. Do not pull it to tight or it will distort the shape of the pouch. Also make sure the paracord is not twisted when you are pulling it through the loops.
Keep inserting the needle into the loops on each side of the spine working back and forth. Keep the paracord at the same tightness with each pass. After you have a few lines made between the sides of the spine, you can pull on the sides to tighten the cord between, and keep them all approximately the same length. Work your way to the bottom of the pouch until the last pass is through the bottom corners of the spine.
Now take the need through the loop directly on the other side of the pouch to start making the other side. You will be doing the same thing as before, but working from bottom to top. Once you have reached the top and gone through the other loop on the side that you started, pull the pouch by the burgundy spine to keep everything uniform.
Take the two ends of the black paracord, that should be coming out the same side of the burgundy spine, and put them through the loop on the other side. Use a cord lock to lock the two strands into place, making sure the cord is not twisted. Measure out where you want the cord to be using the cord lock to keep it in place. Tie an overhand knot and cut the excess cordage and melt the ends into the knot.
The next thing to do is make the cross pattern on the sides of the pouch. Take one of the 5’ sections of paracord and attach a paracord needle to the end. Starting on the bottom insert the needle through the loop next to the loop where the paracord for the side crossed over the corner. Pull the cord through until there is a few inches left on the other side.
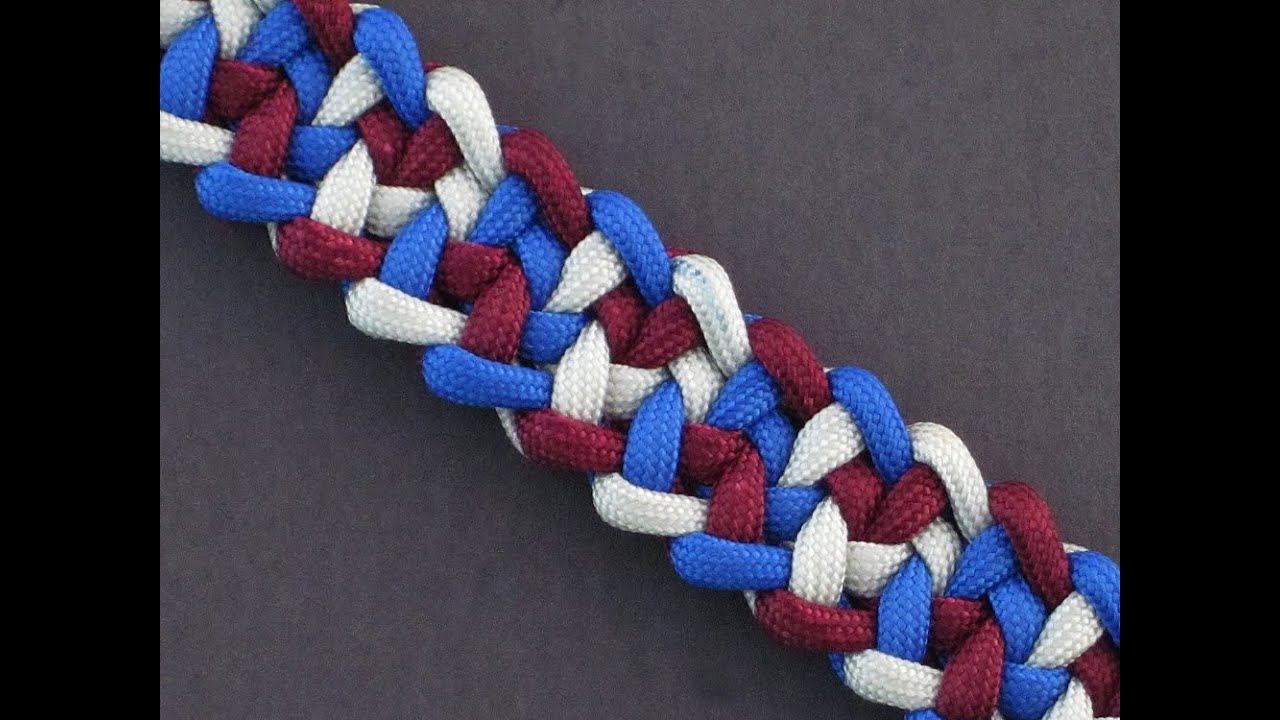
Start the checkered pattern by working the needle over the first strand, under the second strand, over the third strand, and so on until you reach the top. Pull the paracord through, not pulling the end all the way through, and push it against the burgundy spine. Make sure you are working only through the strands that make up the side of the pouch you are intending to work with. Putting a notecard between the two sides of the pouch will help keep you on the right strands.
Continue the checkered pattern going the opposite direction until you reach the bottom of the pouch. Work the needle through the next loop on the burgundy spine and pull the paracord through. Make sure the paracord is not twisted and do not pull it to tight, otherwise the pouch will be distorted. Repeat the process until you have reached the other side of the pouch and gone through all of the loops on that side of the pouch. Once you have pulled all the cord through the last loop, cut the excess cordage on both the starting and finishing end and melt them into the spine.
Repeat the entire checkering process on the other side of the pouch and you’re done!

