In this video tutorial presented by Intense Anglers, we learn how to make a paracord fishing and survival bracelet. Here's how to never be caught again without a resource to catch a meal.
The paracord fishing and survival bracelet is a great way to incorporate actual fishing tackle into the bracelet, without affecting the look, feel, or integrity of the survival bracelet itself.
To make the fishing and survival bracelet you will need:
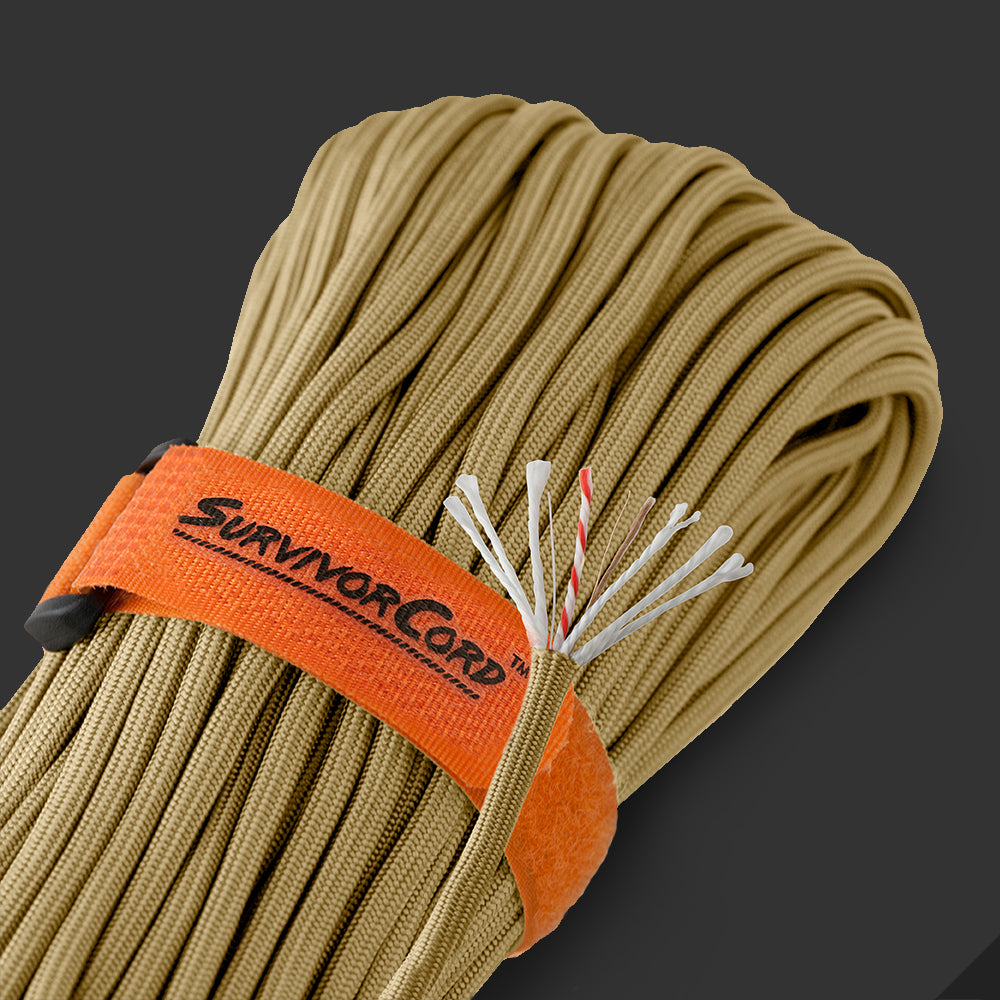
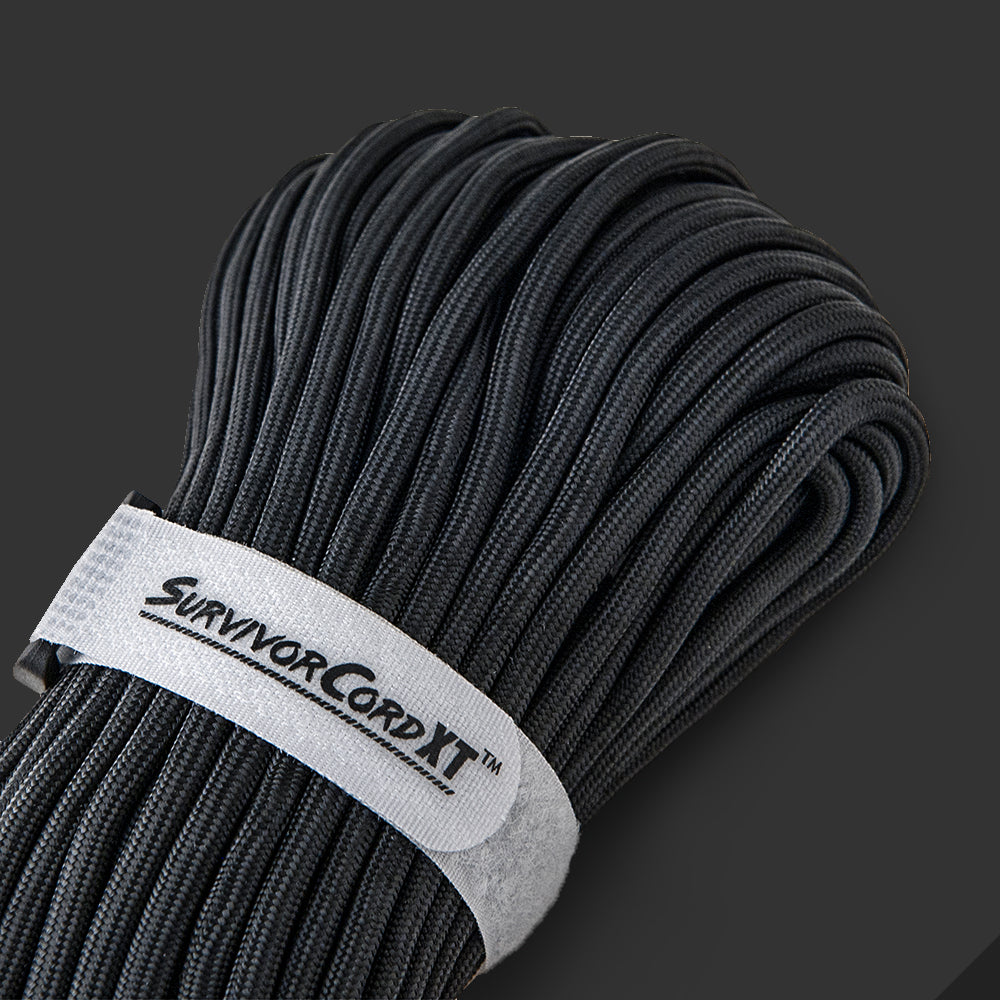
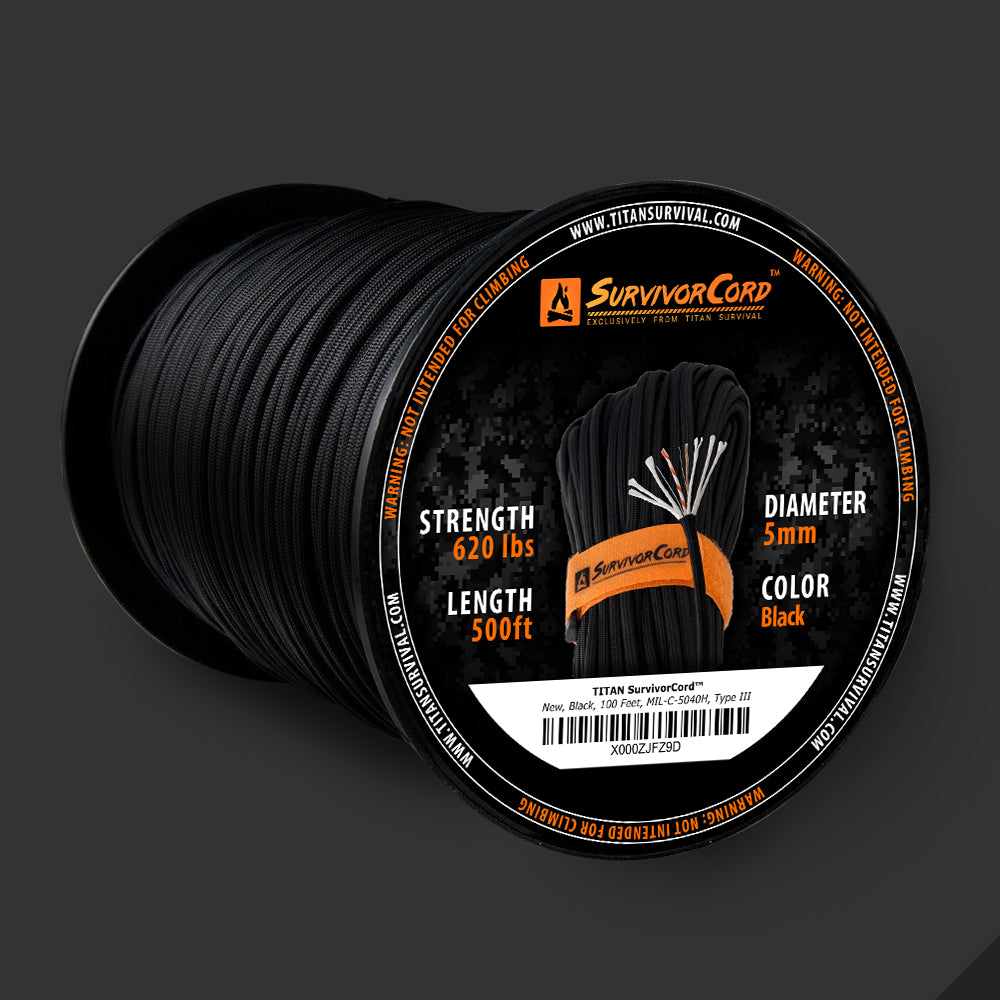
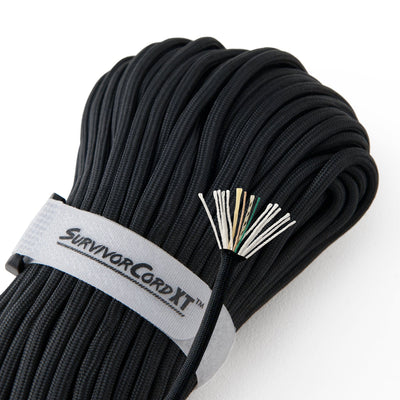
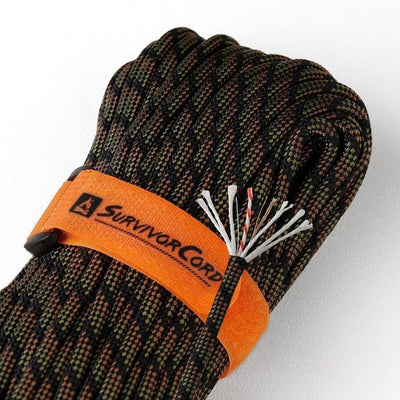
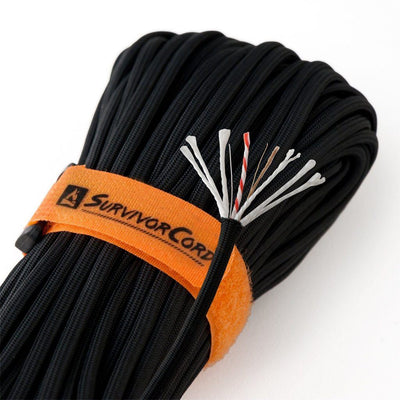
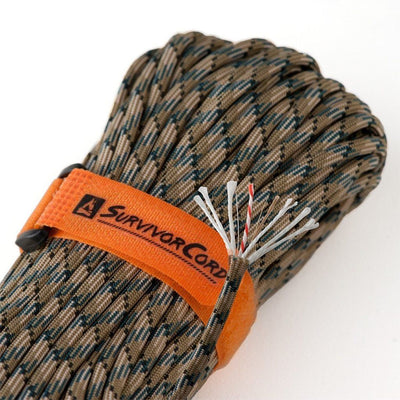
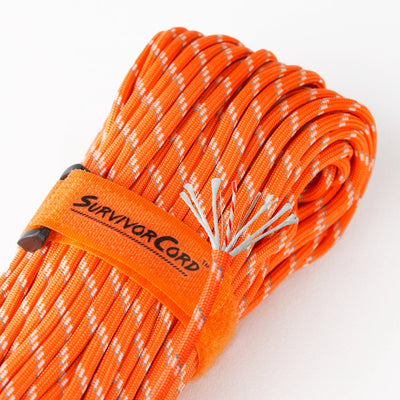
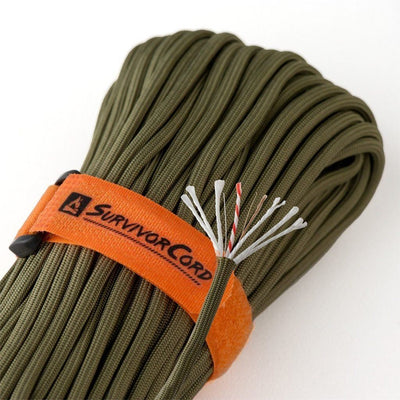
- Approximately 8’ of TITAN SurvivorCord or WarriorCord
- 10lb braided fishing line
- 3 split shots
- 2 size 10-12 fishing hooks
- Plastic release clip buckle
- A binder clip or paper clip
- Super glue
- Electrical tape
- A pair of scissors
- A lighter
To begin making the fishing and survival paracord bracelet, fold your length of paracord in half bringing the ends together. Separate your buckle, and attach the paracord to one of the buckle ends via a cow hitch. To make a cow hitch, feed the ends of the paracord together through the buckle end, entering from above. Then bring the ends through the loop created on the other side and pull the paracord tight down onto the buckle end.
Next take one of the working ends, and about two inches down from where it is attached to the buckle, cut the paracord off and set aside. Pull the inner strands out of the section that is still attached to the buckle about one inch and snip them off. Set them aside as you will be using them later. Using the lighter, very lightly melt the edges of the paracord without melting the end shut. Insert a ball point pen into the paracord to flare the end out.
Insert your split shots into the now hollow section of paracord, using the ball point pen to push them down if necessary. Take the piece of paracord that you cut off and using the lighter melt the end lightly and roll the end into a point. Then take the super glue and coat the end, but not the tip, and then slid it back it the section that is still attached to the buckle. Take the lighter and very carefully melt the overlapping end into the other section of paracord.
Next cut a length of electrical tape that is 1 - 1 ½” in length. Lay the piece of electrical tape down, sticky side up and place the two fishing hooks at one end of the tape. Take the bracelet and place the hooks against the backside of the two cords attached to the buckle, and wrap the tape around the cords.
Take the working ends of paracord and work them through the other buckle end entering from underneath. Pull the paracord through and adjust the buckles to your wrist size and hold in place with a binder or paper clip.
Take the fishing line, and tie a knot around the top of the bracelet over the section that has been wrapped in electrical tape. Snip the short end of the fishing line, and wrap the remaining cord around the inner strands of the bracelet. You want the fishing line to be wrapped snug but not too tight. The amount of fishing line you add is completely up to you. Once you are done wrapping your fishing line tie a knot and cut the excess away.
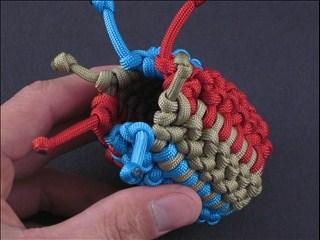
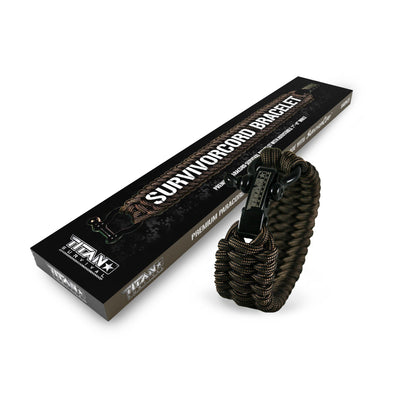
Now that all of your fishing tackle is added you can now create the design of your bracelet. This particular bracelet uses a basic cobra weave. Begin by taking the right working end of the top of the two center cords. Then bring the left working cord of the end of the right working cord, behind the center cords, and then through the loop created by the right working cord. Repeat the process, except for this time start on the left side.
Continue this pattern, alternating starting sides with each completed cobra weave until you reach the end of your bracelet. Once you reach the end, cut the remaining cord and melt the ends into the last cobra weave. That’s it, now you’re ready for adventures with your paracord fishing and survival bracelet.

