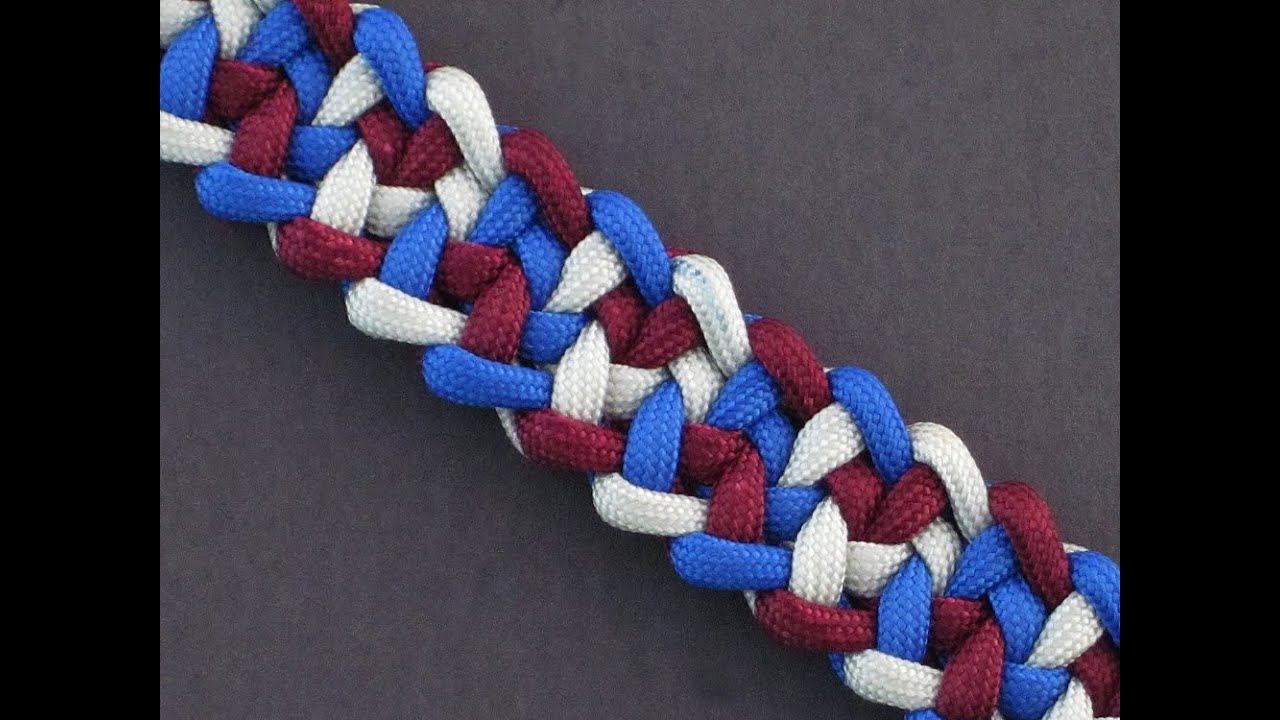
Learn how to tie the Witness To Your Splendor Celtic knot in this instructional video presented by Tying It All Together (TIAT).
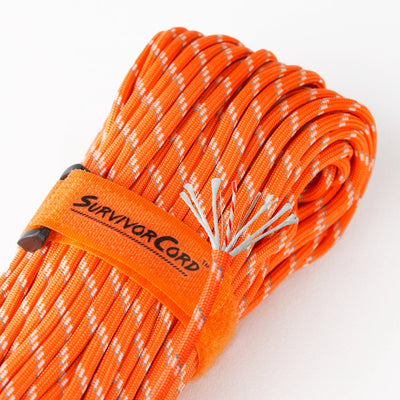
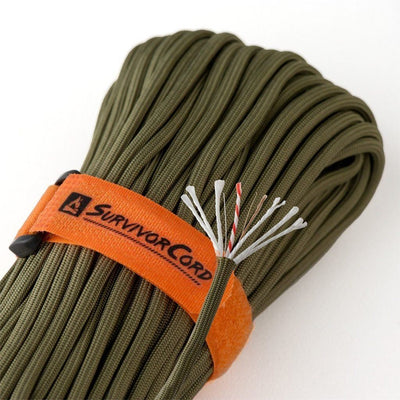
For this project you will need one 6’ length of SurvivorCord or WarriorCord. This will create a 2 inch knot.
Starting at the center of your 6’ length of paracord, create a simple loop. To the right of that loop create a second loop in the opposite direction of the first. The working line should be coming over the front of the loop rather than behind. Holding the two loops in place with your left hand, create a third loop on the right side the same way as the second loop.
Cross the left working cord attached to the first loop over the top of the right working cord that is attached to the third loop. Take the left working cord, which should be facing towards the right, and work it behind the third loop, over the front of the second loop, and behind the first loop. The left working cord should now be back on the left side.
Take the right working cord and create a small loop. Push the small loop through the first loop, and the opening previously created by the left working cord. Bring the small loop back through the first loop. The small loop should be going through the first loop, behind the left working cord, and back through the first loop towards you. Pull the right working cord all the way through, but not tight.
Create another small loop on the right working cord, and push the loop through the top of the second loop from behind. The small loop should be going through the loop from behind working towards you. Work the loop over the left working cord that goes through the center of the second loop, and then back through the second loop working from front to back. Bring the loop around the right side of the second loop and through the opening back towards you. Pull the rest of the cord through.
Work the right working cord under the left working cord that goes through the center of the third loop. The right working cord should be coming out of the right corner, and the left working cord should be coming out of the left corner.
Loosen the bottom loops of the work by pushing the working cords back and then working the slack out by making the bottom loops bigger. Take the right working cord through the front of the right loop, behind where the loops cross, and through the back of the left loop. The right working cord should now be facing towards the left.
Take the left working cord over the top of the right working cord, through the left loop from behind but under the right working cord. The take the left working cord trough the center where the loops cross, under the right working cord, and then back up, over, and through the right loop. Work the left working cords under the right working cord that is running through the center of the right loop, then over the right most side of the right loop. Gently adjust the not until it is firm but not too tight.

