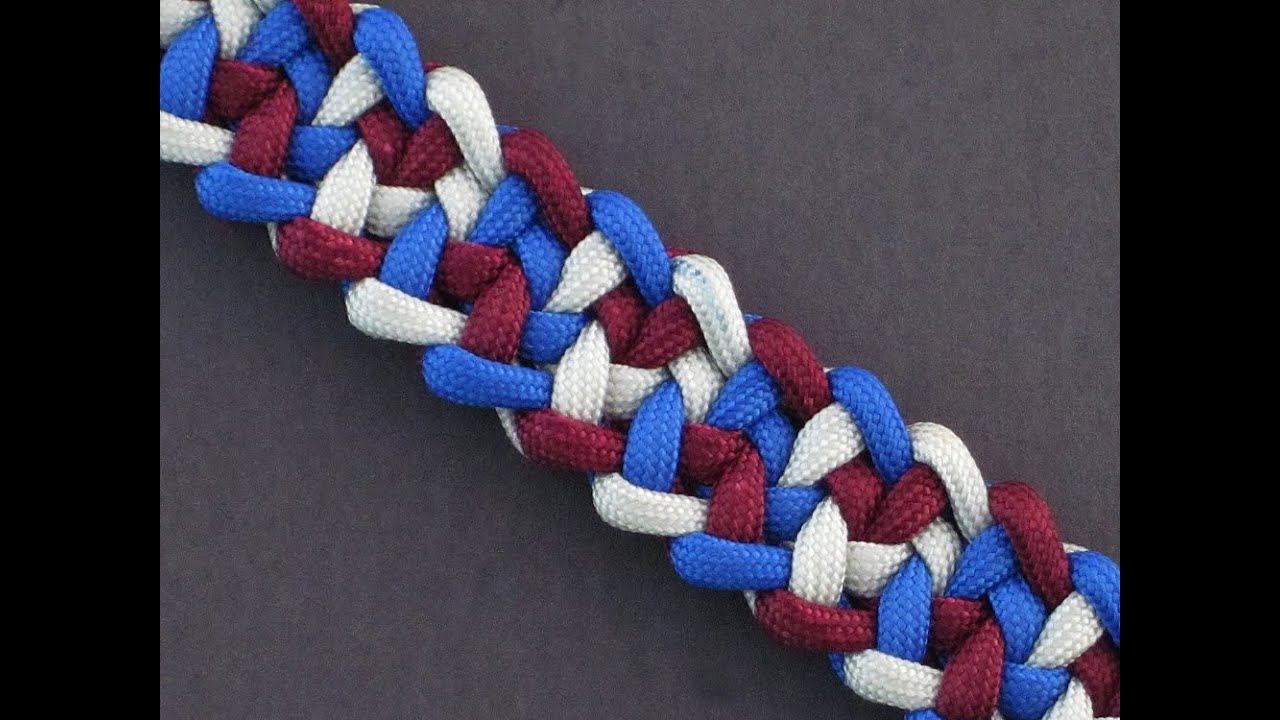
Learn how to make your own paracord roll bar handles in this video. Making your own paracord roll bar handles is easy and will give your vehicle a personal touch. Customize your own paracord roll bar handles by using your favorite colors.
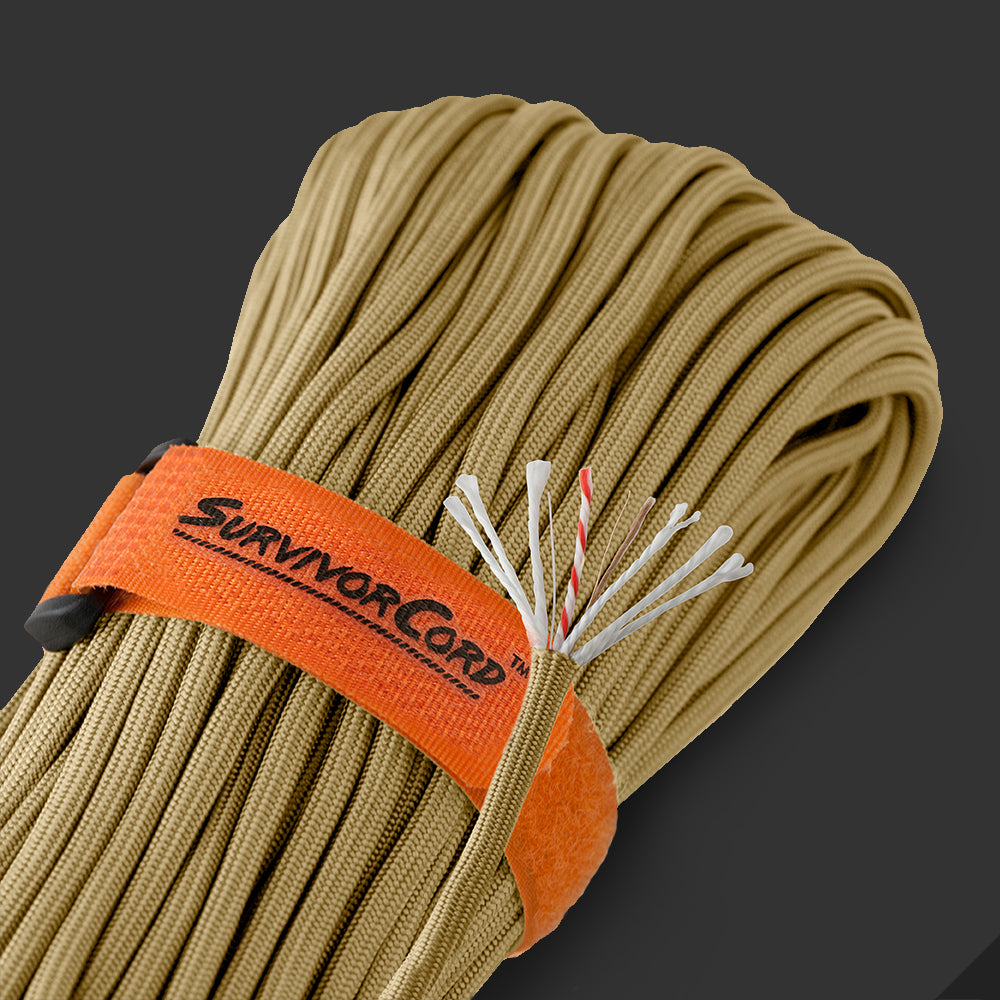
This article will lay out step-by-step how to make your own paracord roll bar handles. You can customize your roll bar handles by choosing your two favorite colors. For one roll bar handle you will need two bracelet buckles, scissors, a lighter, two 48”lengths of paracord, one 55”length of paracord, and three 60” lengths of each color.
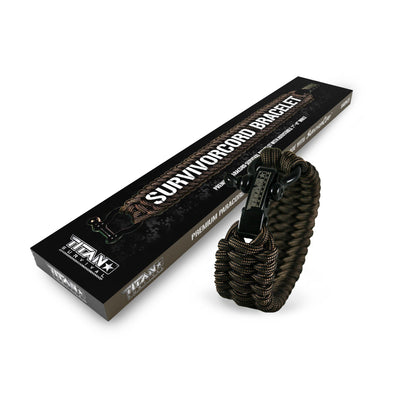
To begin, unbuckle the bracelet buckle and loop one of the 48” lengths of paracord though both buckles twice. Melt the ends together and pull the buckles to opposite sides of the double loop. This will be one side handle used to attach handle to the roll bar. Create a second side handle using the second 48” length of paracord and bracelet buckle. Buckle both bracelet buckles closed and place them in front of you about a foot apart.
Take the 55” length of paracord and create a triple loop by starting on one side and going through the side handle from the top working underneath and towards the other side handle. Come up through the second side handle from underneath and loop two more times through the side handles. Trim the ends and melt them together. Pull the side handles to opposite ends of the triple loop, making sure the paracord is not twisted. This entire piece makes up the interior of the handle.
Take one 60” length of paracord of each color and fuse them together at one end. Lay the interior of the handle parallel in front of you and place the length of paracord you just fused together behind the interior of the handle with the fused part just under the handle. You should have one color on each side. Next, is to cobra weave the paracord down the triple loop to the second side handle.
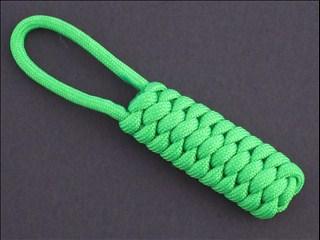
Start the cobra weave by taking the left cord over the cords of the triple loop, and under the right cord. Bring the right cord through the loop created on the left side from behind, pulling the cord all the way through to the other side. Tighten the weave down to the side handle. Repeat the process except for this time start on the right side, pulling each weave tight before moving on. Continue the weave down to the other side handle until you have it as close as possible. Turn the handle over, cut the remaining ends of the cobra weave to about half an inch, pinch them in over the cobra weave and melt the ends together.
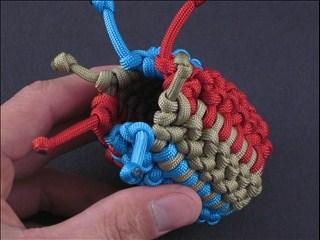
Now that the handle part is done, the next thing to do is cobra weave the side handles. To start, take one 60” length of paracord of each color and fuse them together at one end. Unbuckle the bracelet buckle and lay the side handle out so it is in a straight line. Center the fused paracord just under one of the buckle ends and start cobra weaving. When you reach the middle point where the main handle attaches to the side handle, continue your cobra weave by going under the attachment point and create a single cobra knot that is on both sides of where the main handle attaches to the side handle. Once you reach the other end of the side handle, cut the remaining ends to about half an inch, pinch them in over the cobra weave and melt the ends together.
Now just repeat the same process on the second side handle and you’re ready to attach it to your roll bar! You can make your paracord roll bar handles all the same or make each one different, it’s up to you.

