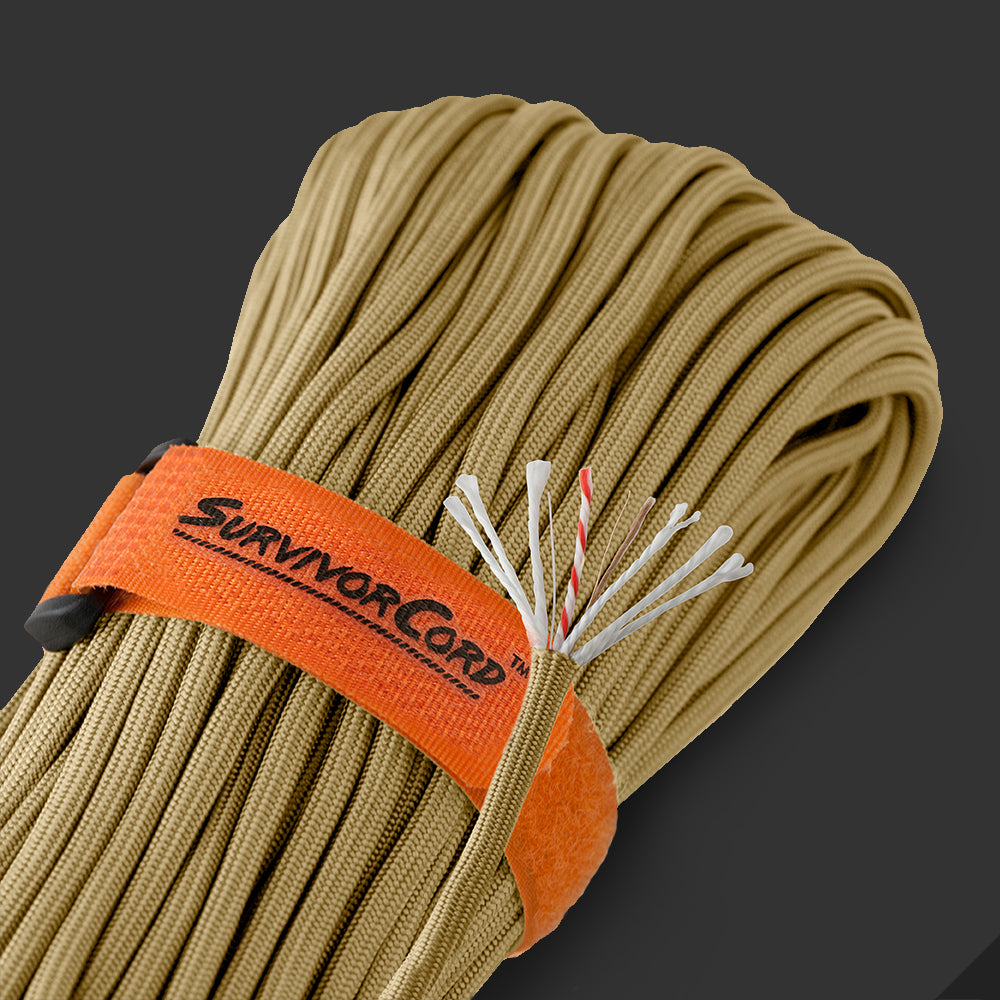
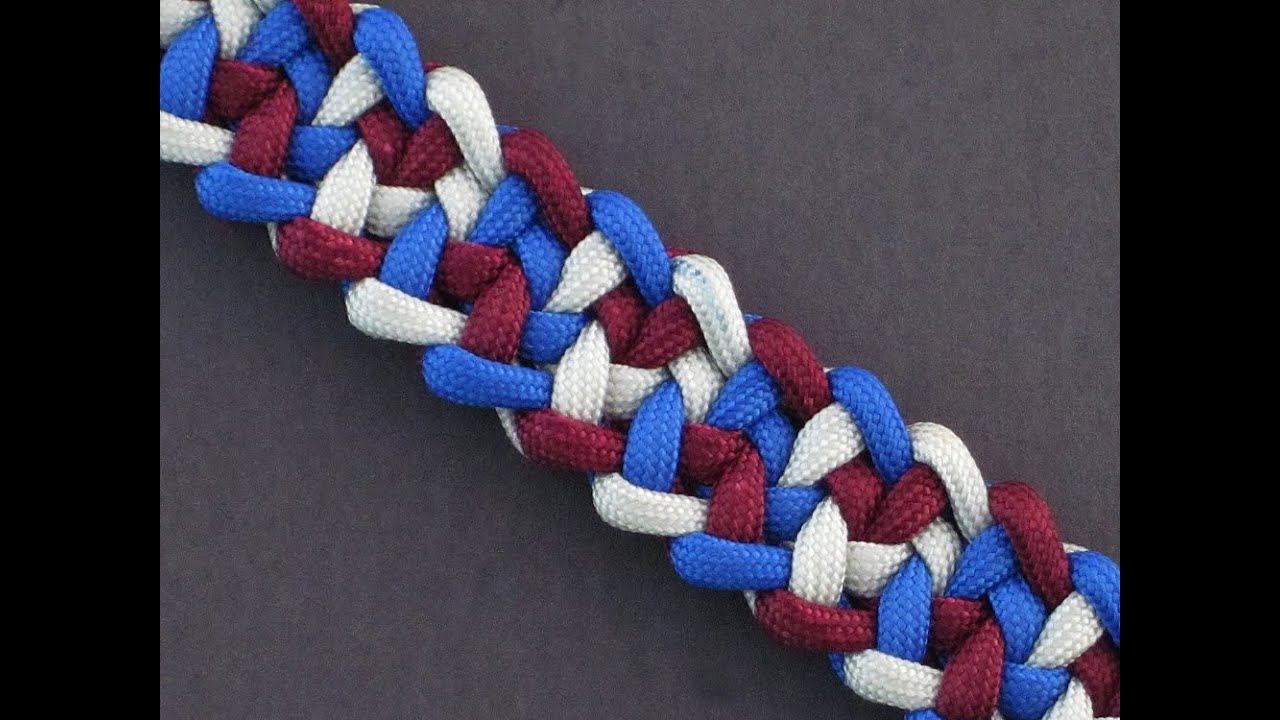
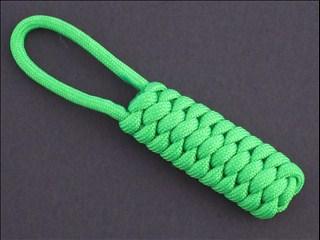
In this video presented by BowHunter4E, you'll learn how to create a bow sling made from 550 paracord. Why spend twenty plus dollars on a pre-made bow sling when you can create your own paracord bow sling for under five dollars? Your paracord bow sling will be unique and will work just as well as a pre-made bow sling sold at an outdoor supply store.
This article will lay out step by step how to create your own 550 paracord bow sling. The bow sling will consist of a diamond braid and cobra weave. You will need scissors, a razor knife, a lighter, electrical tape, and four strands of 550 paracord a little longer than your draw length for the diamond braid. You will need an additional two lengths of each color used, approximately five feet in length for the cobra weave. This design will be a simple “dotted” pattern. For simplicity purposes this pattern will be black and white, using three strands of black and one strand of white.
After cutting the four strands of paracord for the diamond braid, place them together so the ends make a square shape. Melt all four ends together using the lighter. Then wrap the melted ends tightly with electrical tape, folding the end over on the tape to create a way to remove the tape later. You could attach a loop of extra paracord when wrapping on the electrical tape. This will create a spot to secure the paracord while creating the diamond braid.
For the diamond braid start by separating the two sides. Looking down on the paracord you will have a left side and a right side with paracord on top and paracord on the bottom. Take the top sections of paracord and separate them further by putting them to the outside, with the bottom strands on the inside. You should have four strands laid out in front of you from left to right.
Take the top outside left strand and work behind the two inside strands to the right, then over the top of the right inside strand. The strand you started with should back to the left side, but has now become the bottom inner strand. Tighten by grabbing the strands on each side and pulling in opposite directions simultaneously.
Take the top right strand and do the same thing in the opposite direction, going under the two bottom strands then up and over the left inside strand, and finally tightening. While creating the diamond braid, the top and bottom strands will alter from side to side. Continue this pattern until you have about one inch of free ends remaining. Tightly tape with electrical tape a few braids up from the last braid you made.
Now find the center of the braid and bend it in half at that point. You will need about eight inches for the cobra weave. Measure four inches down from the center of the braid and mark the spot with tape, individually on each side. This should make about eight inches when the braid is stretch back out straight. Taking the two five-foot sections of paracord you cut earlier, connect them together by melting an end of each strand and sticking them together. You can roll it on a counter when it cools slightly with your finger to smooth it out.
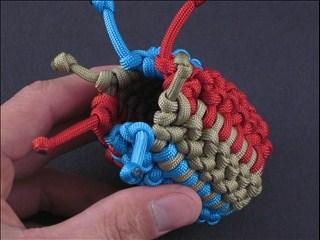
To start the cobra, place the connected strands behind the braid just under where you marked it with electrical tape. Make an “S” over the top of the braid with the left side. You should be holding the “S” at the beginning and end. Take the right side and go through the bottom loop of the “S” from the top working behind the braid to the left, and up through the top loop of the “S” towards you. Tighten gently by pulling on the strand ends in opposite directions simultaneously. Next, make another cobra weave, except this time starting on the right side. The “S” will appear backwards from this side. You should notice that you will be using the same string to make the “S” it will just alter sides with each cobra weave that you make.
Continue the cobra weave until you have reached your second electrical tape mark. To finish, cut the paracord as close as possible to the weave, melt with a lighter and press into the weave using the flat side of your scissors. Cut through the middle of the electrical tape at the ends of the wrist sling using the razor blade. This will create a tight uniform end to be melted. Leaving the tape on melt the ends and shape by rolling the hot end on the flat of your scissors. You should be able to easily remove the tape, revealing a smooth tapered end. Alternatively, you could skip the melting and put a shrink tube on the end, which shrinks to the end when heated.
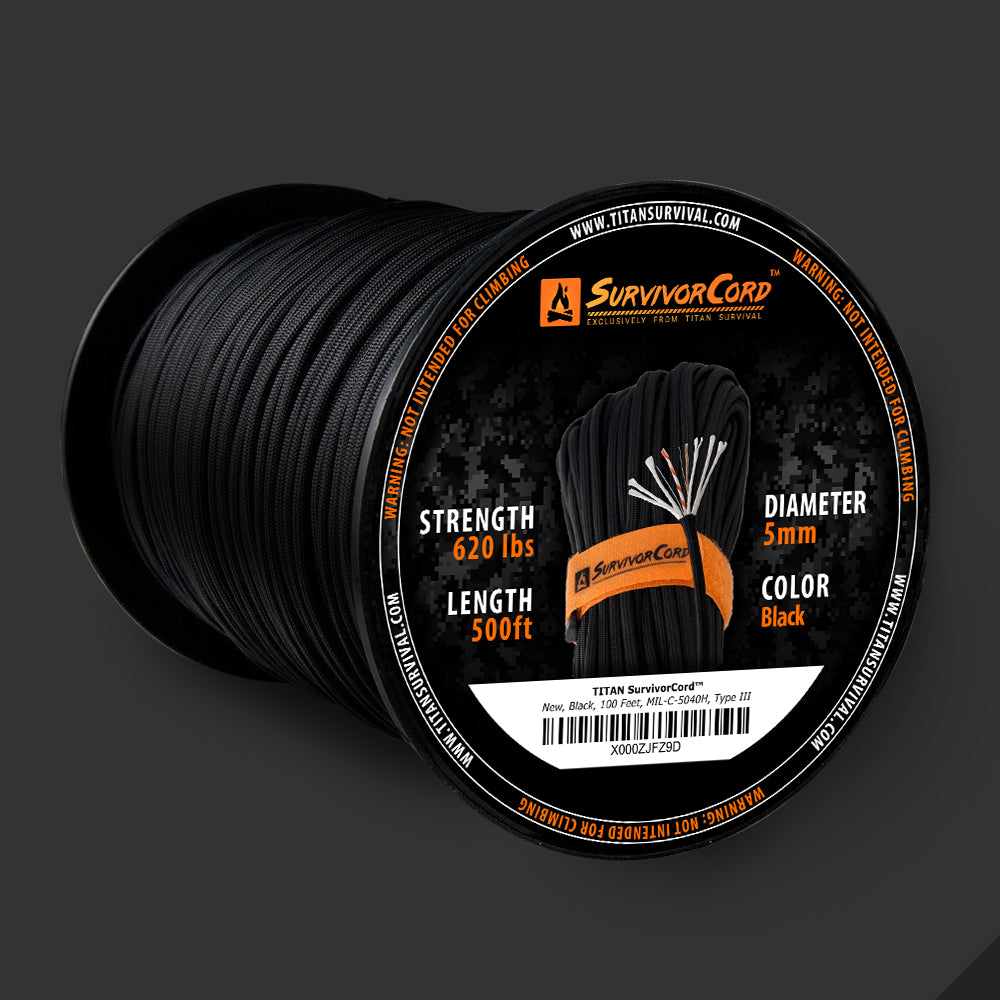
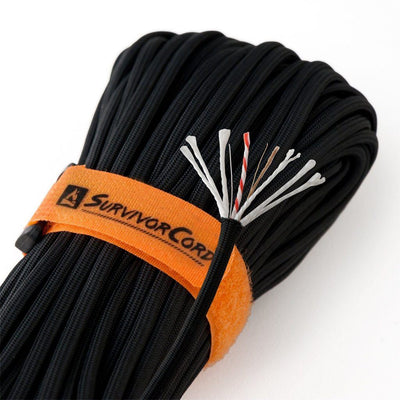
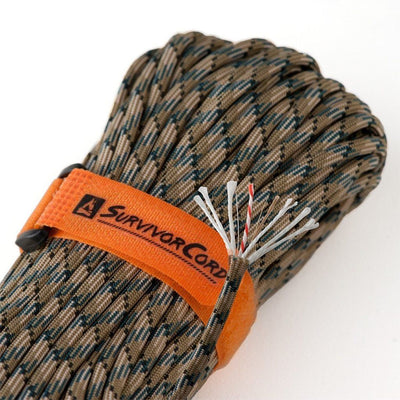
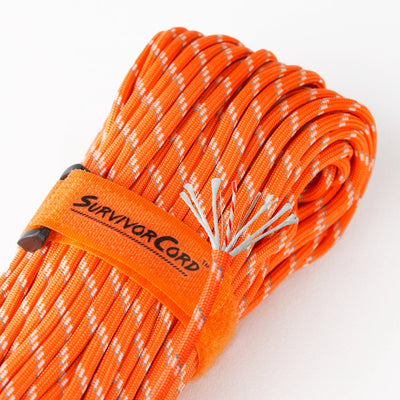
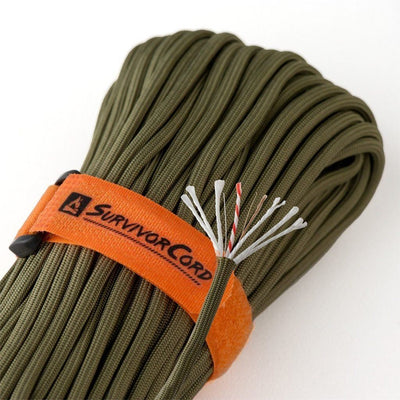
Now you have a completed 550 paracord bow sling. And you can take this same bow sling up a notch by using our patented TITAN SurvivorCord.
All that is left is to work the ends through the holes of your leather bracket. You can make one, reuse one, or buy one, it’s up to you.

